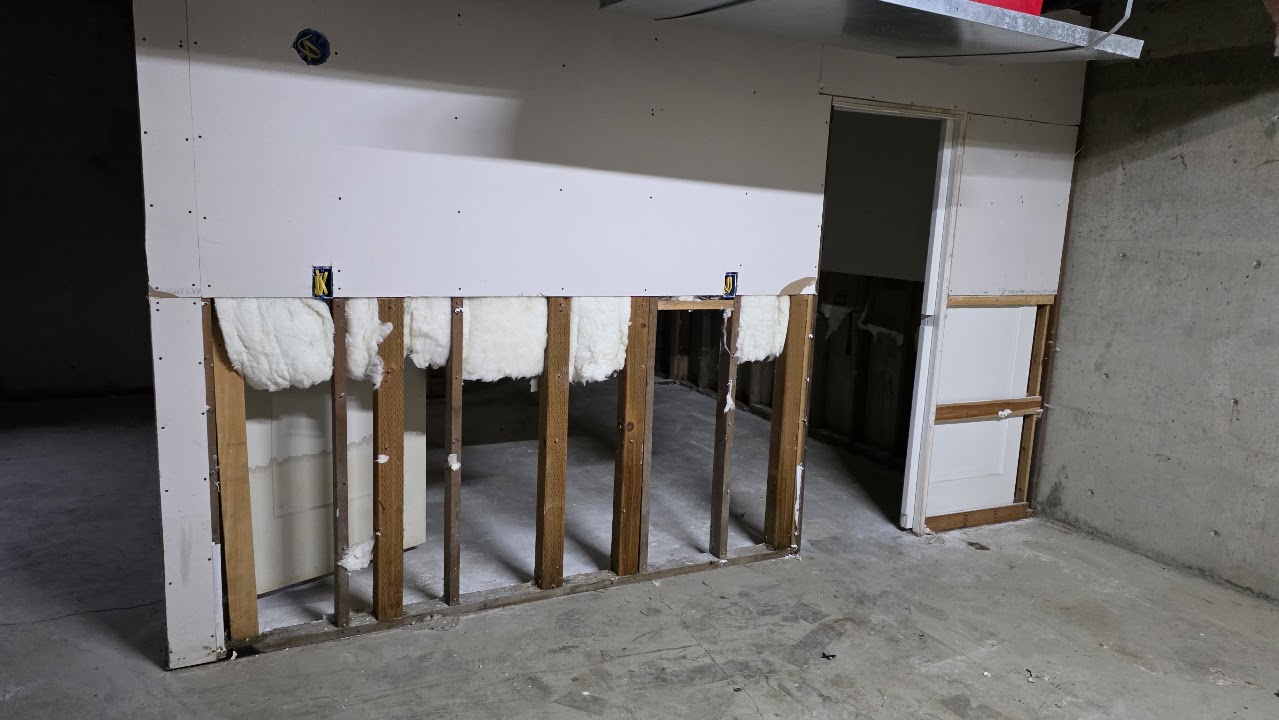
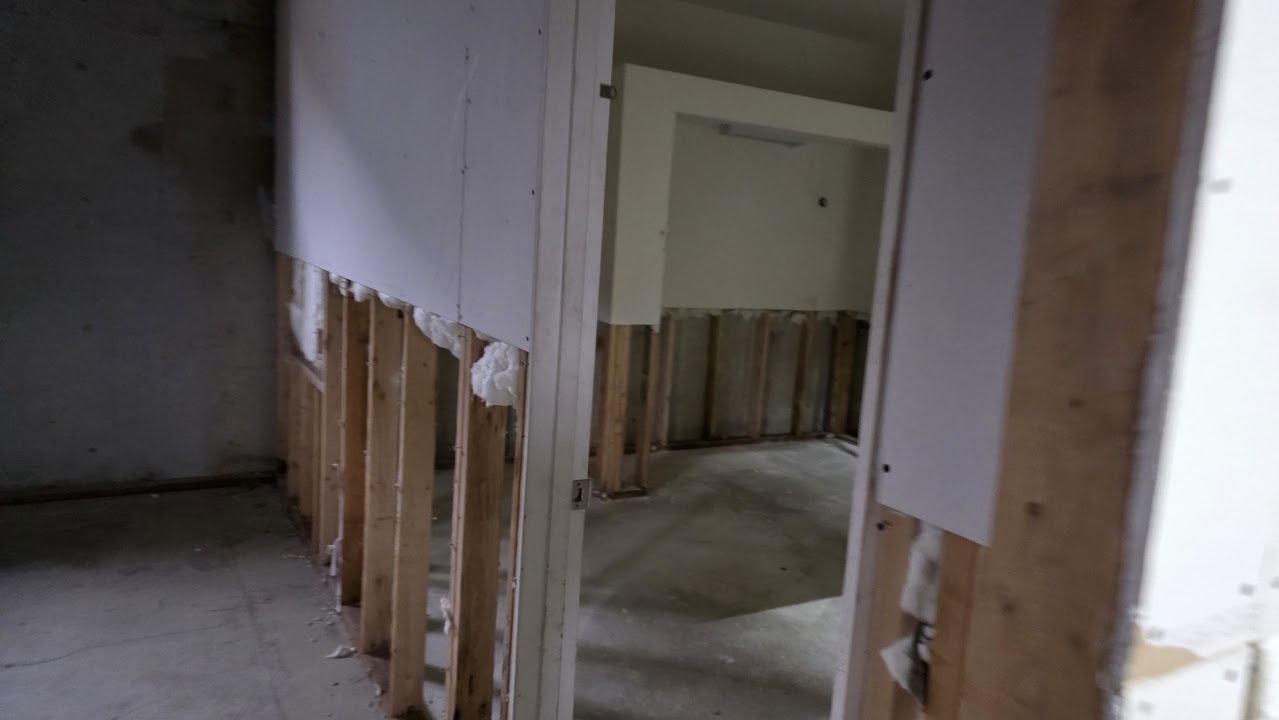
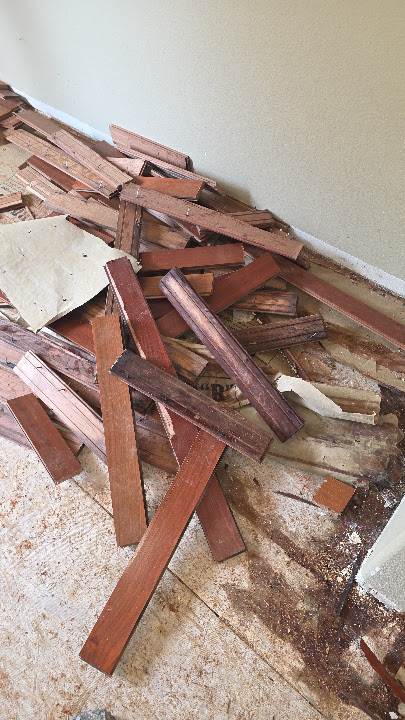
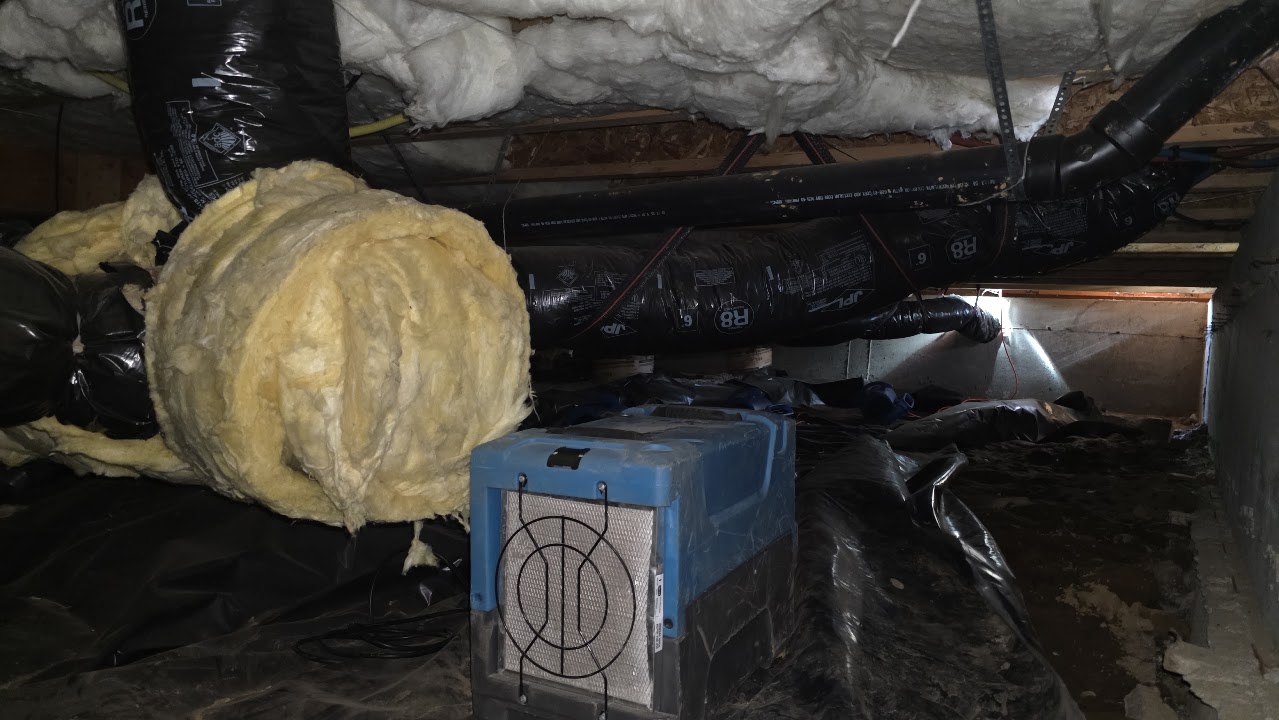
See our crew’s work across northwest Washington, from material removal and moisture checks to cleanup and drying. Choose a project below to explore the job photos.
Selected views of cleanup, moisture checks, material removal and drying. These are real project photos showing work in progress, with selected images edited for privacy.
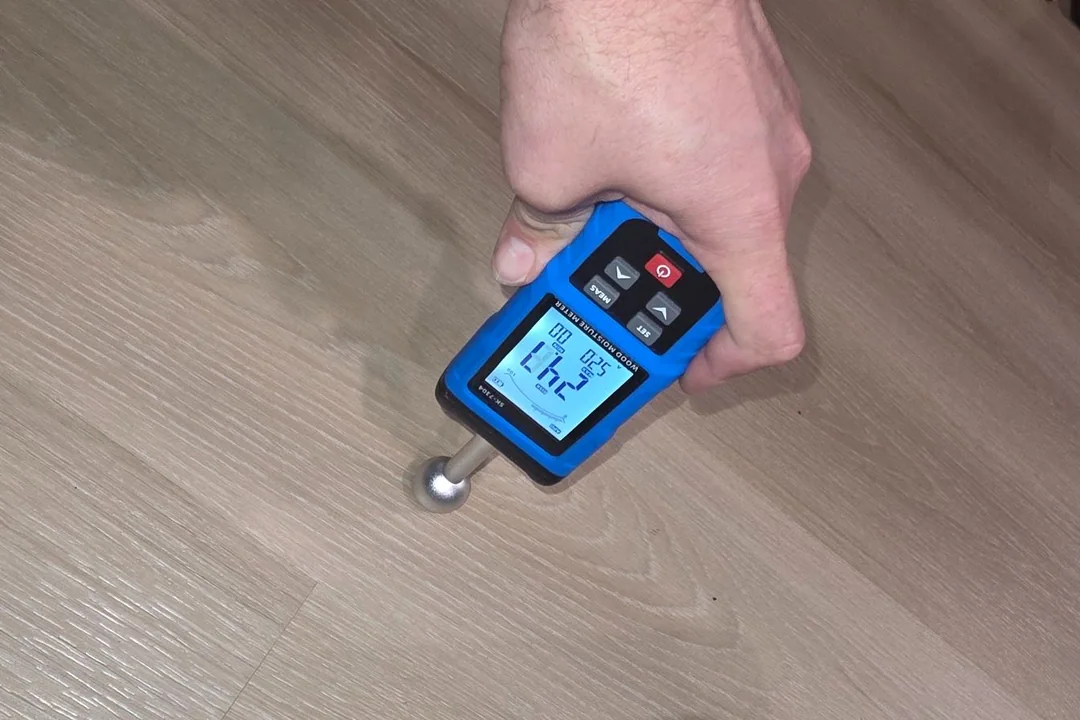
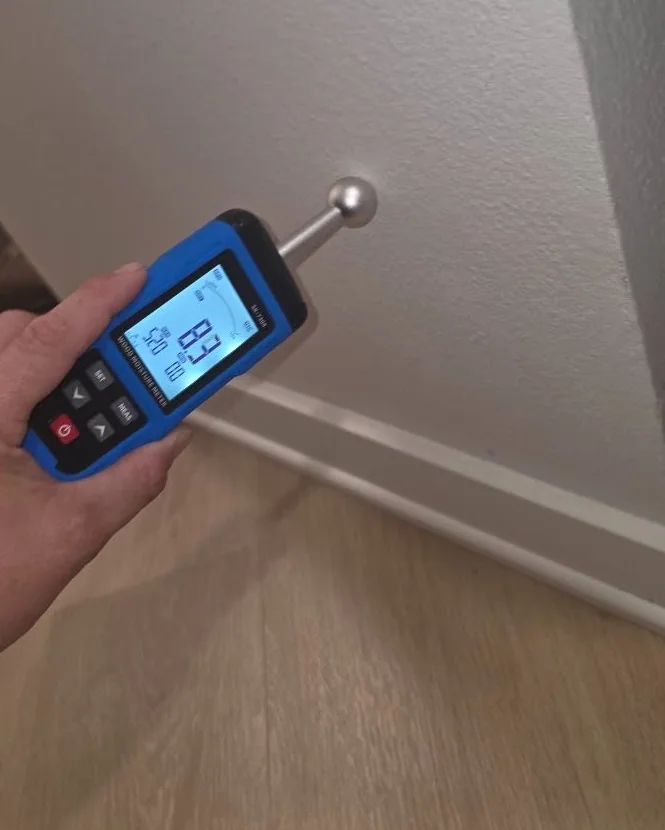
Checking a floor and wall for moisture in Bothell
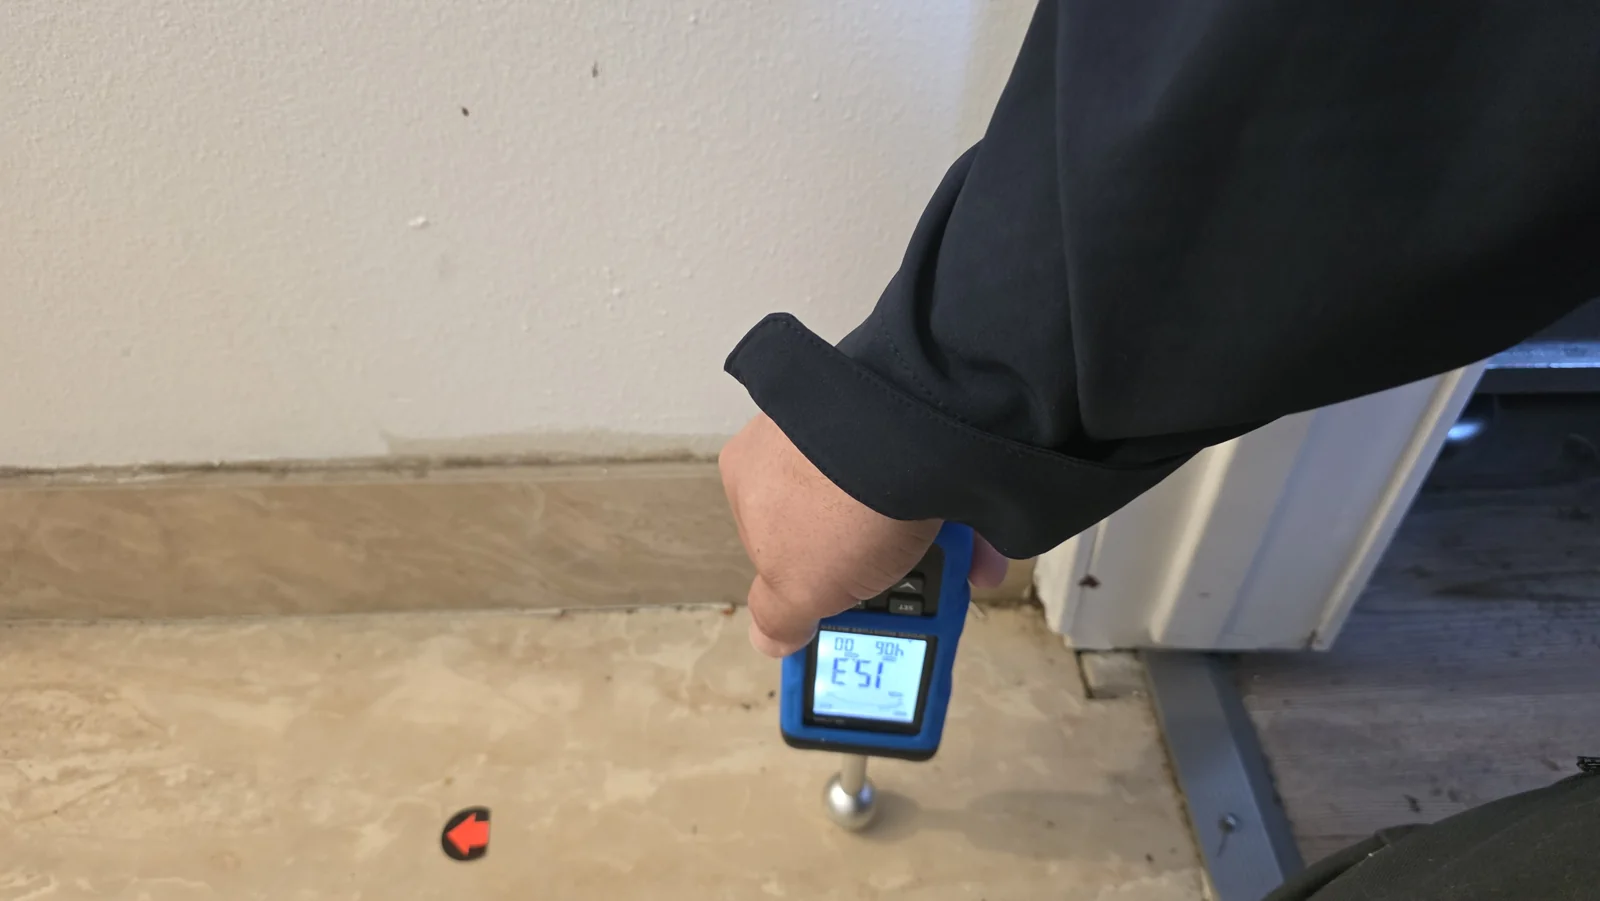
At this Bothell home, our crew took a moisture reading on the finished floor. We also checked the lower wall just above the baseboard. Checking both surfaces helps us decide where to investigate next.
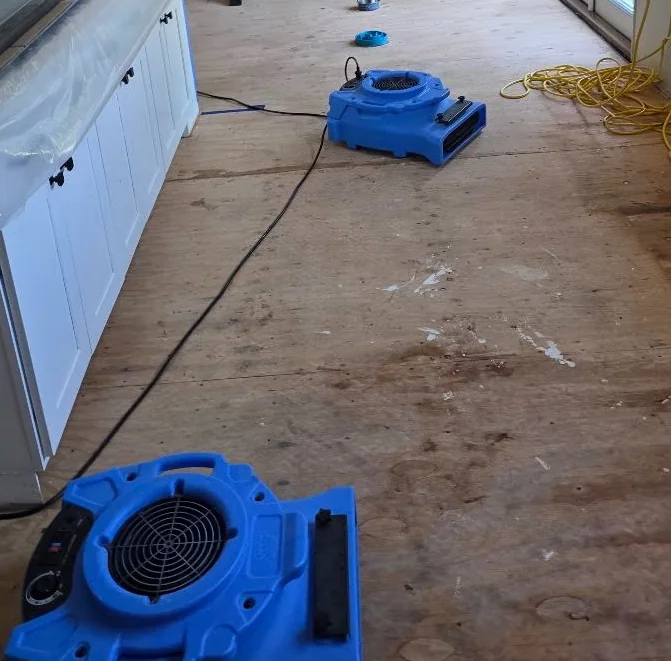
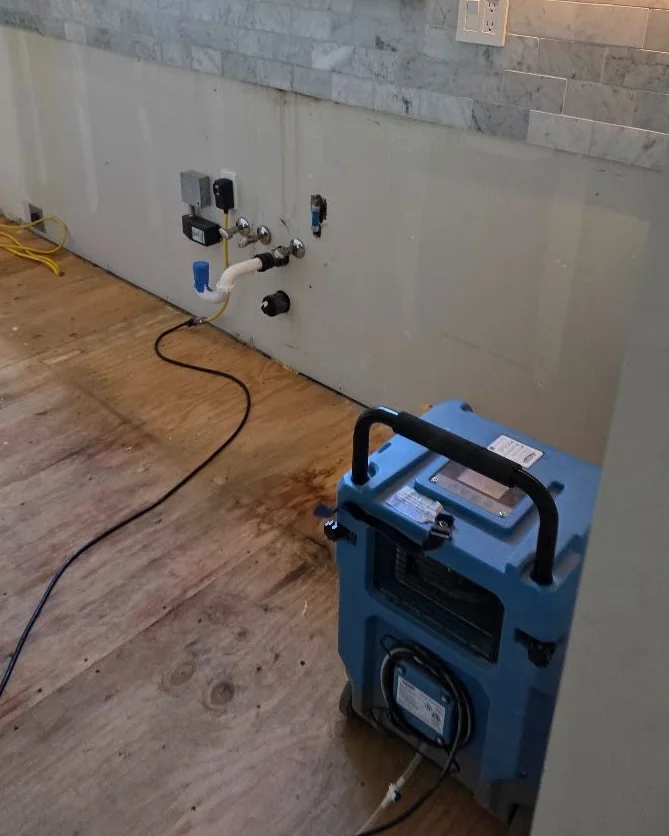
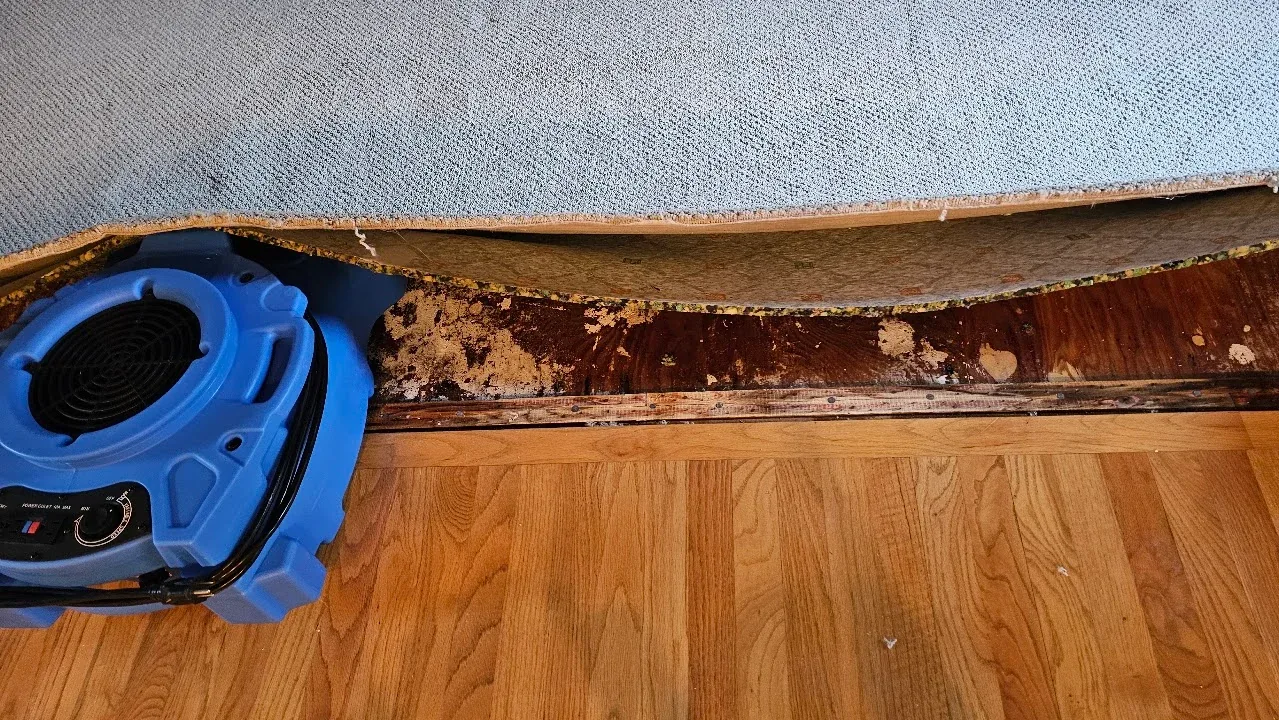
With the finished flooring out of the way, our crew set two air movers on the exposed subfloor beside the kitchen island. We also set up drying equipment along the wall where the sink plumbing was exposed.
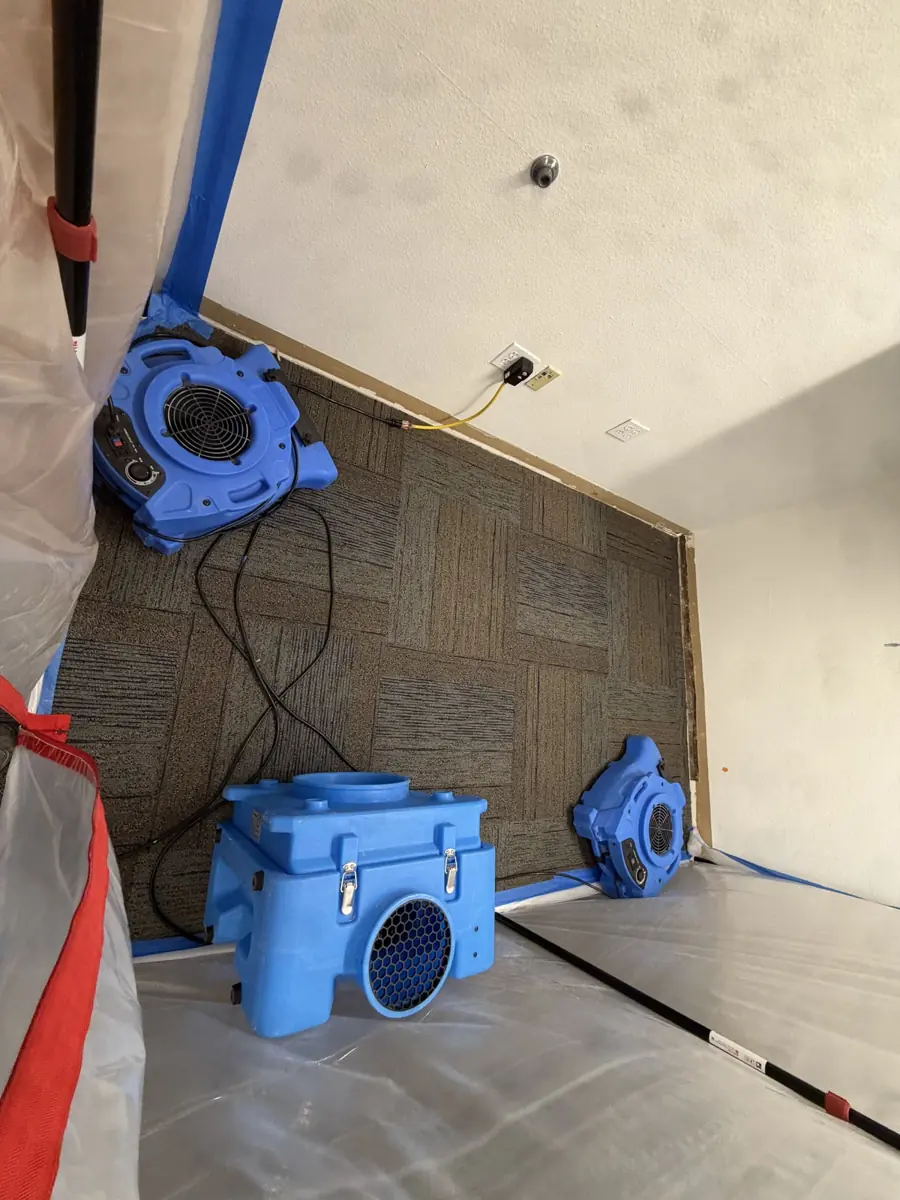
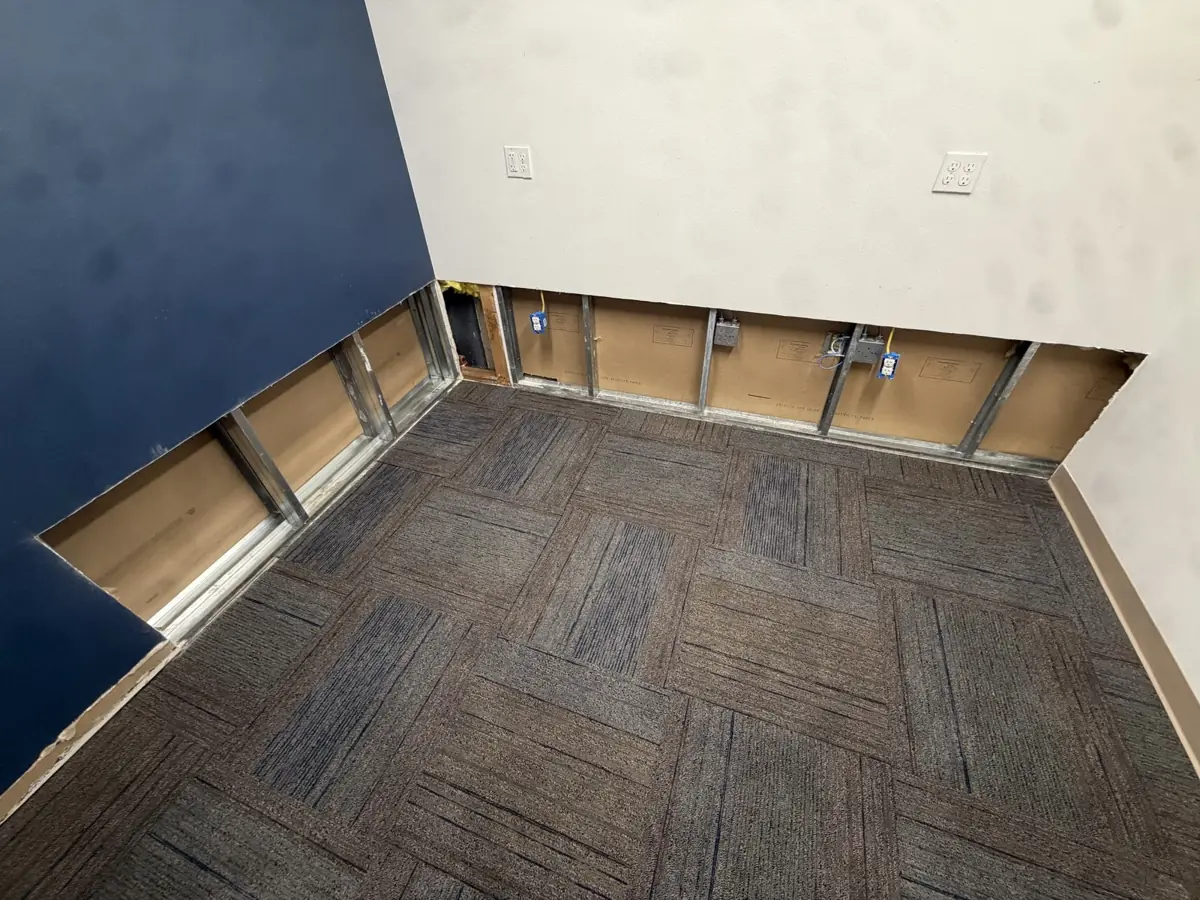
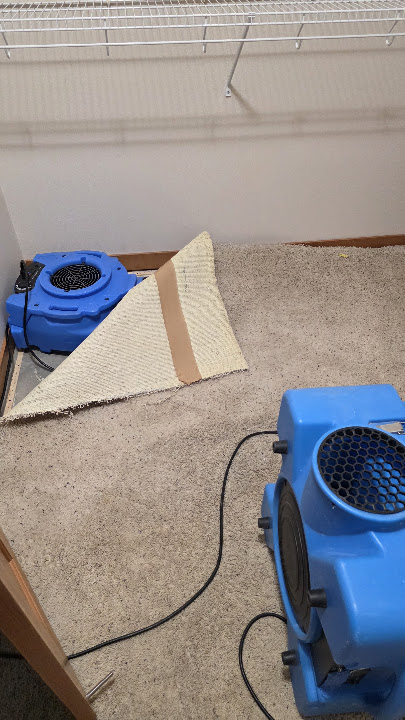
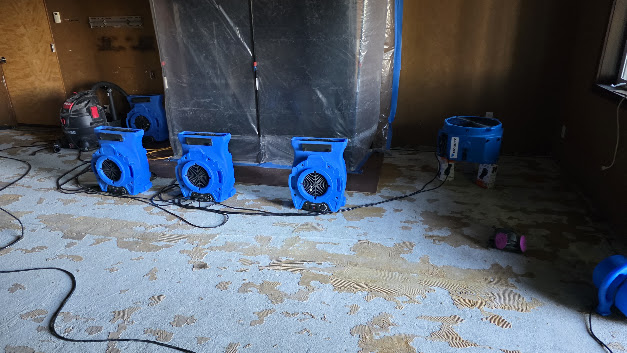
At this Edmonds office, our crew set up drying equipment inside a contained work area. The second photo shows the lower wall openings that gave us access to the metal framing.
Location
Edmonds, Snohomish County
Photographed
September 25, 2026
View larger ↗Drying equipment inside containmentBlue air movers sit on the carpet tiles beside the containment barrier.View larger ↗Access to the lower wallsWith the lower drywall removed, the metal studs are visible along both walls.
Birch Bay: framing moisture checks and subfloor drying
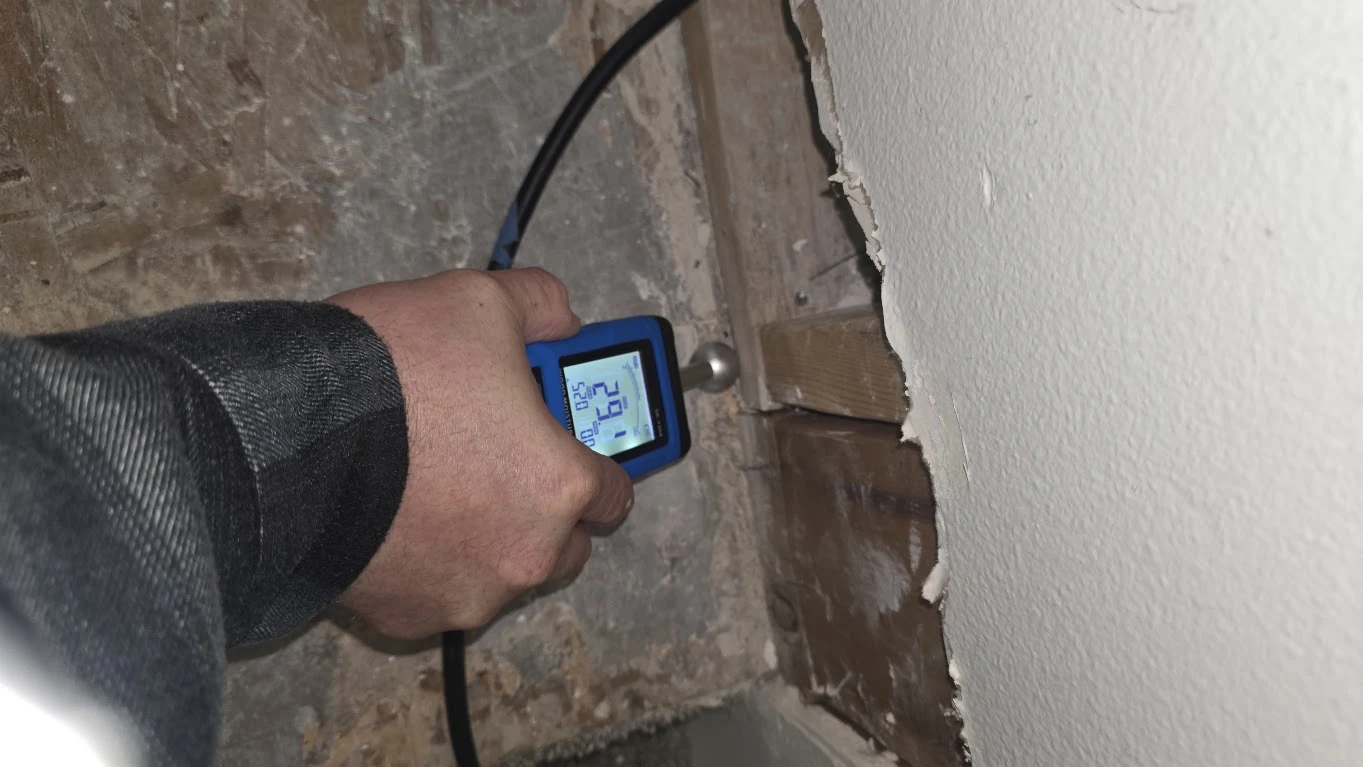
These October 11, 2026 photos show our work at a Birch Bay property near Blaine: checking exposed wood framing and using drying equipment on an opened subfloor. They document the assessment and drying stages before finished repairs.
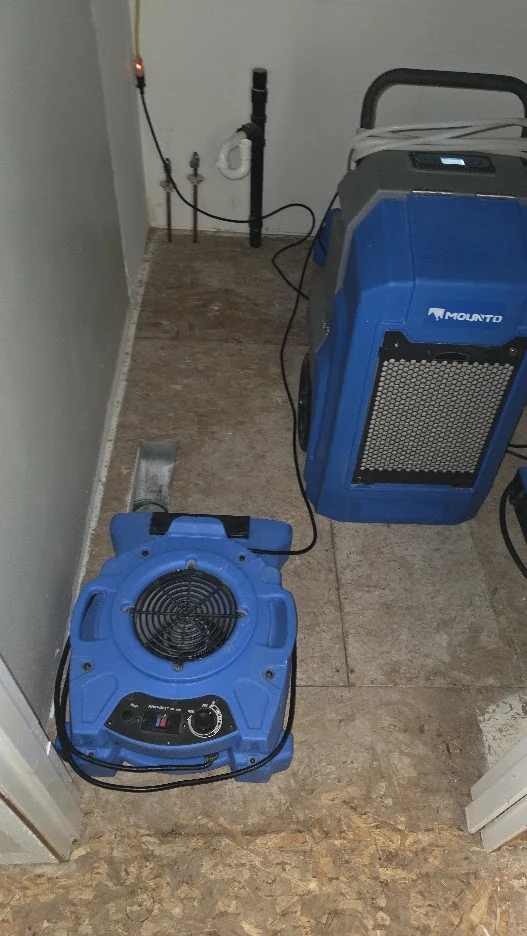
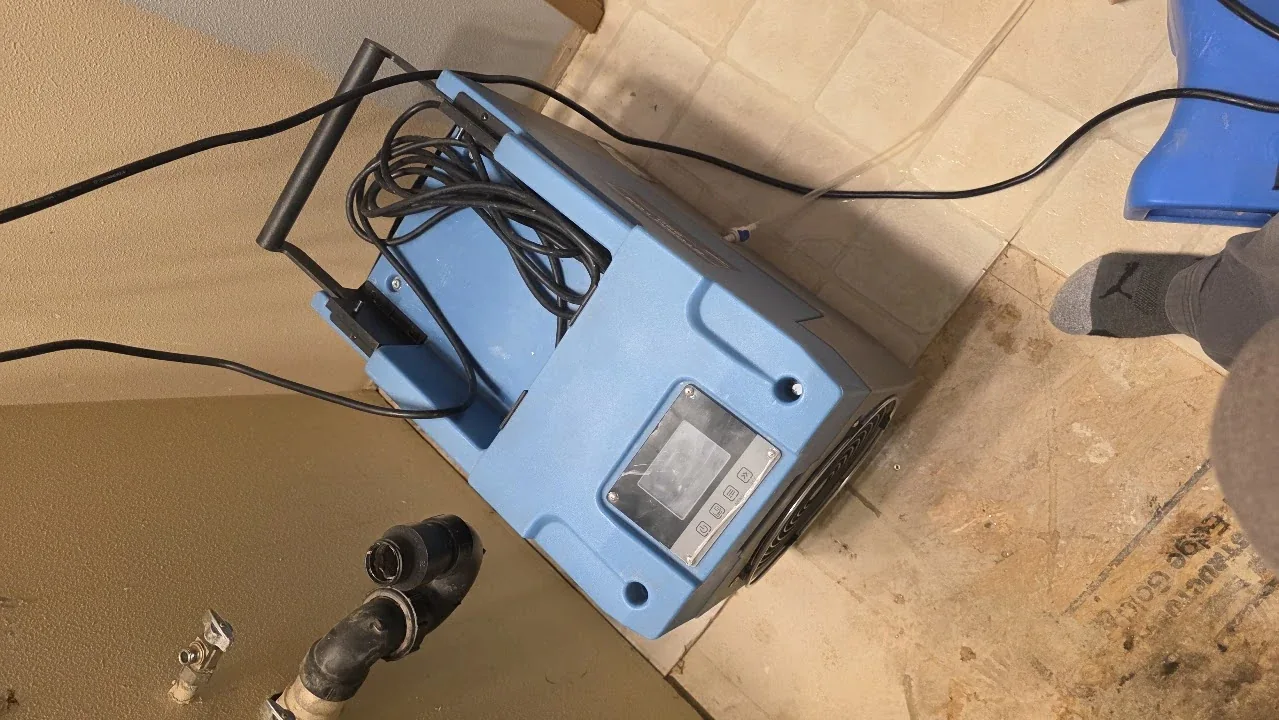
View larger ↗Checking exposed framingA handheld moisture meter is used against exposed wood beside the opened wall.View larger ↗Drying at the subfloorAn air mover and dehumidifier sit on the exposed subfloor, with plumbing connections visible behind them.
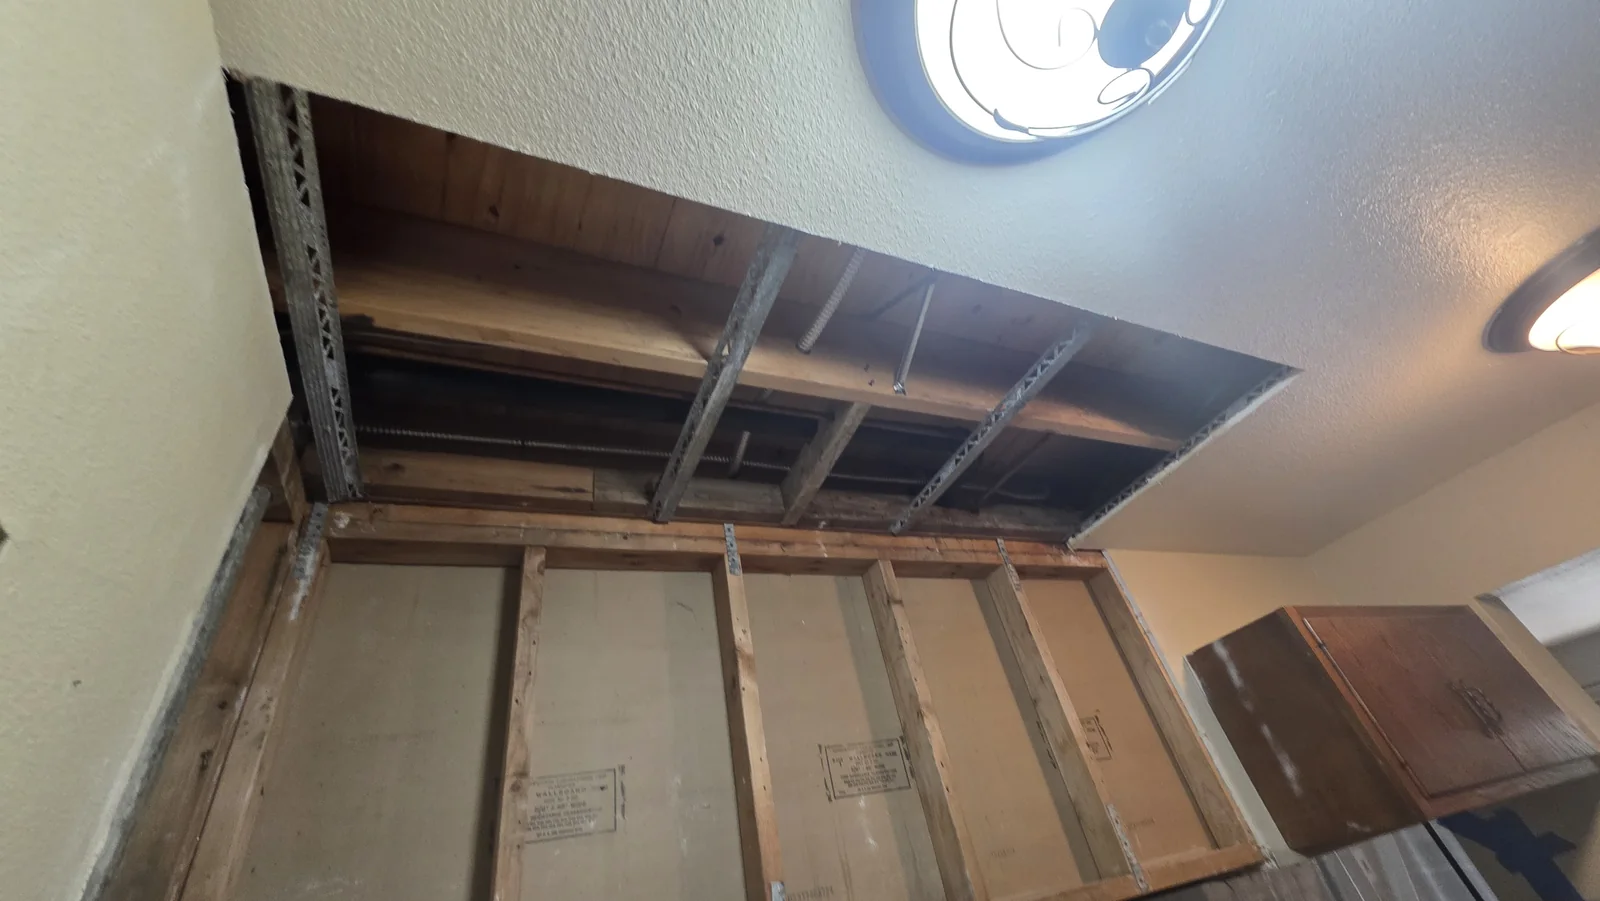
View larger ↗Ceiling and wall workOpened ceiling and wall areas during restoration work in Mount Vernon.
Mount Vernon: kitchen drying equipment
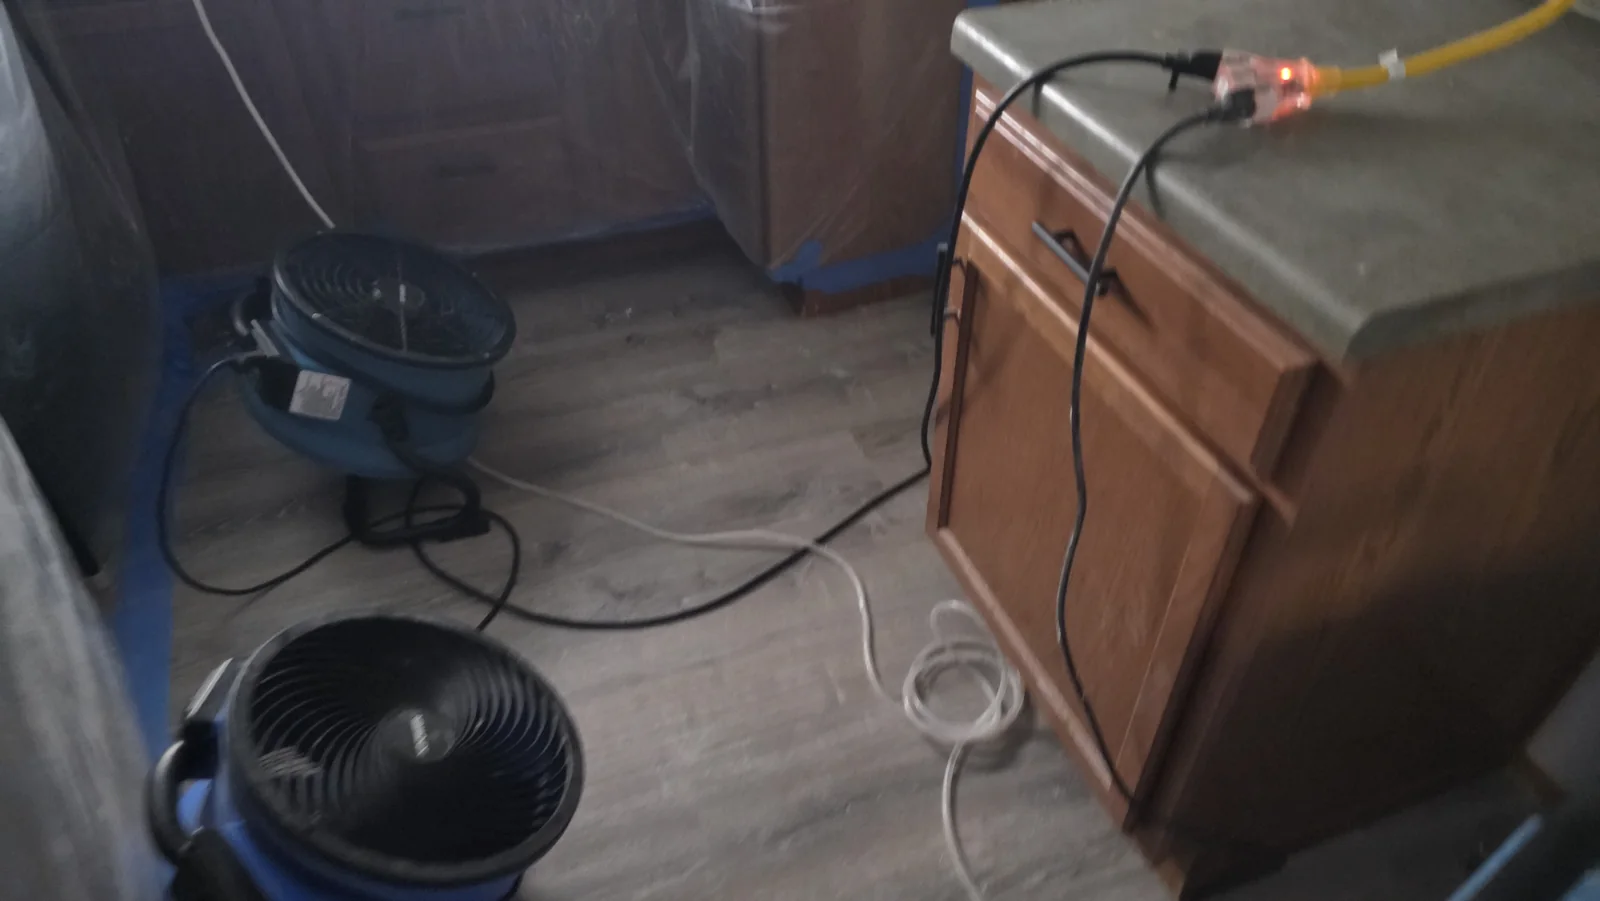
This separate Mount Vernon project photo shows air movers, protective sheeting and taped cabinet edges in a kitchen work area. It provides a view of equipment used during the project.
View larger ↗Kitchen drying equipmentAir movers and protective sheeting in a Mount Vernon kitchen work area.
Sedro-Woolley: ceiling cavity detail
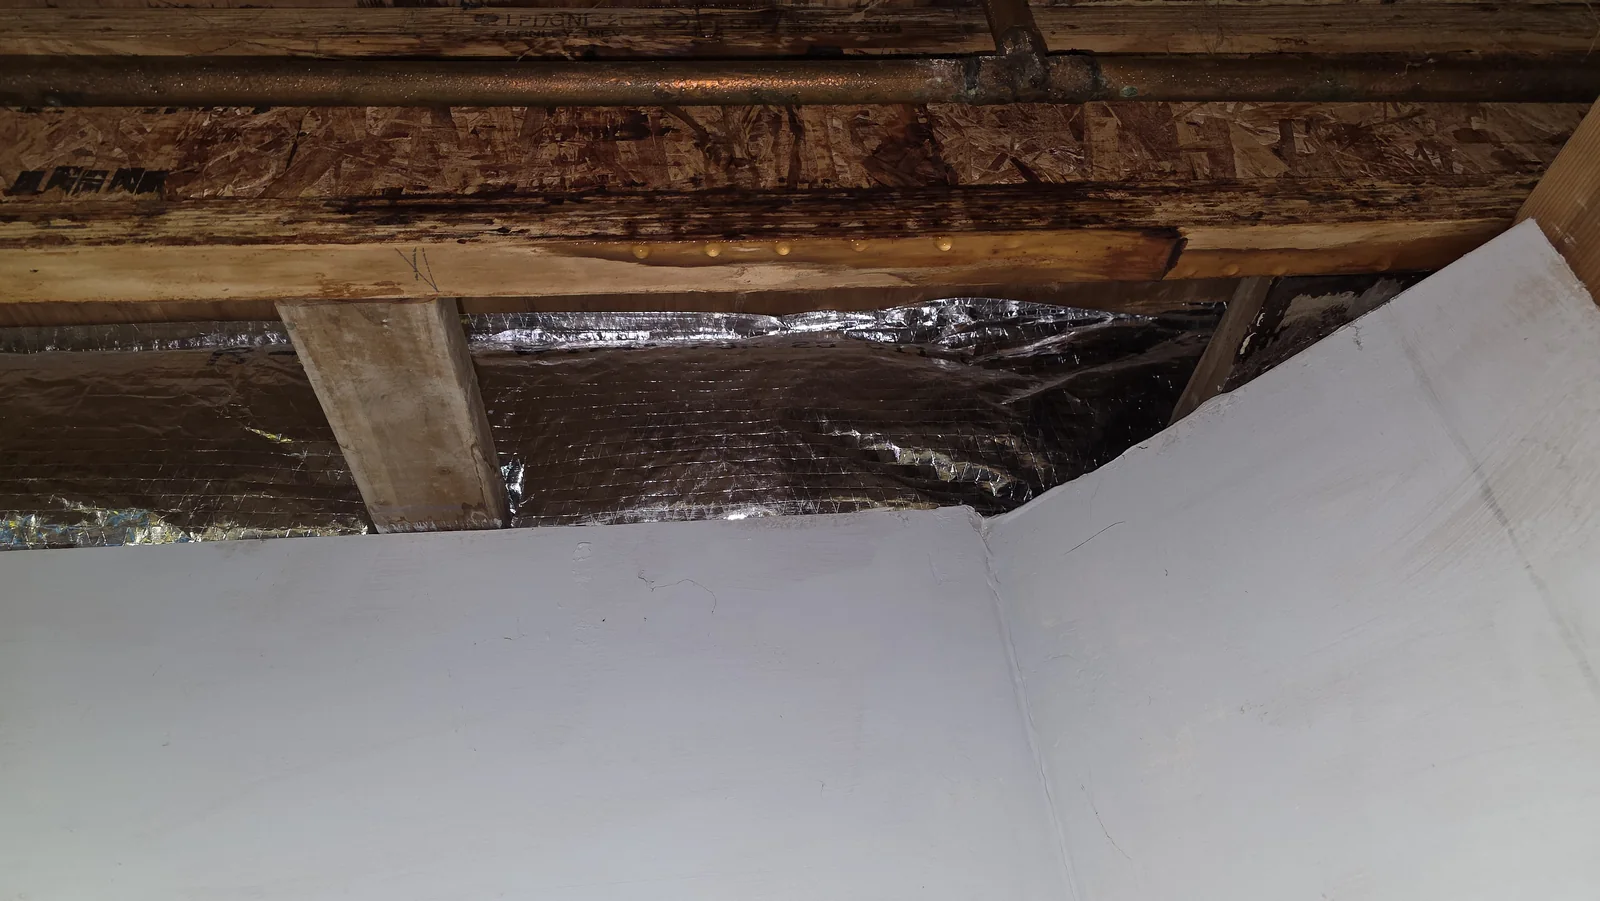
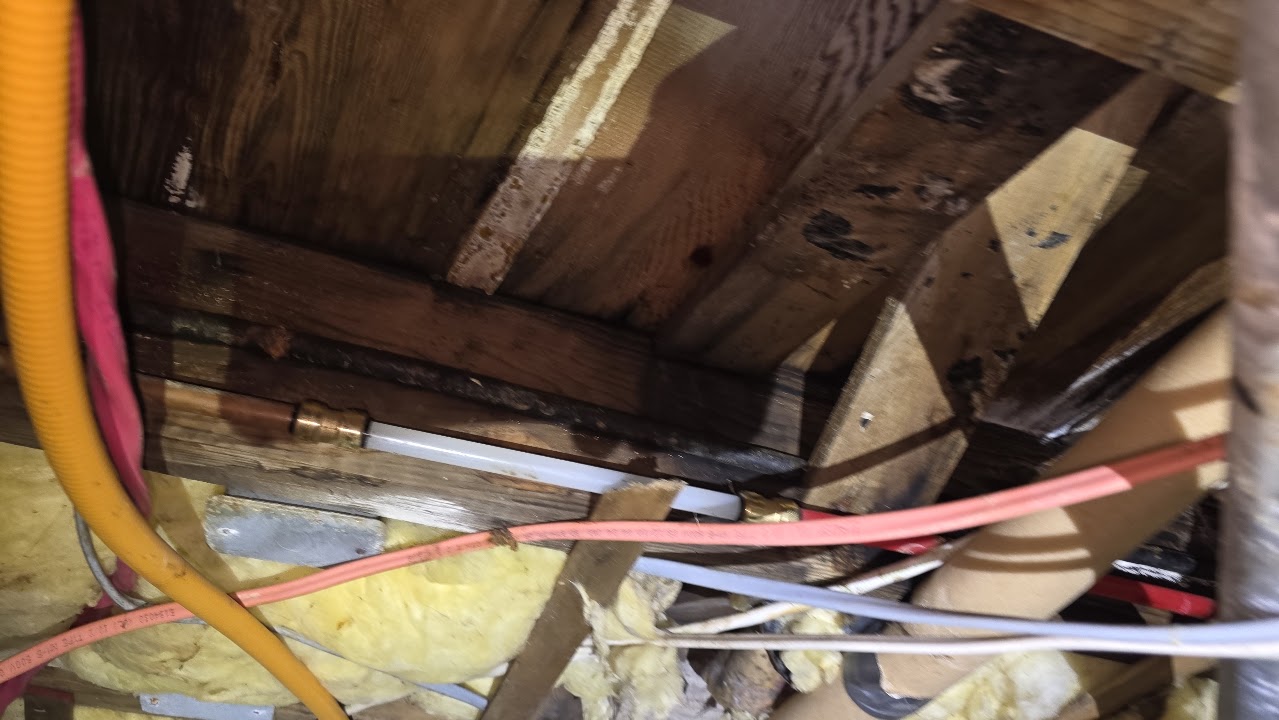
A close view of exposed framing, piping and insulation at a Sedro-Woolley project. This photo documents the opened ceiling area at this stage of the work.
View larger ↗Ceiling cavity detailExposed framing, piping and insulation in a Sedro-Woolley ceiling work area.
Everett: moisture checks and bathroom drying
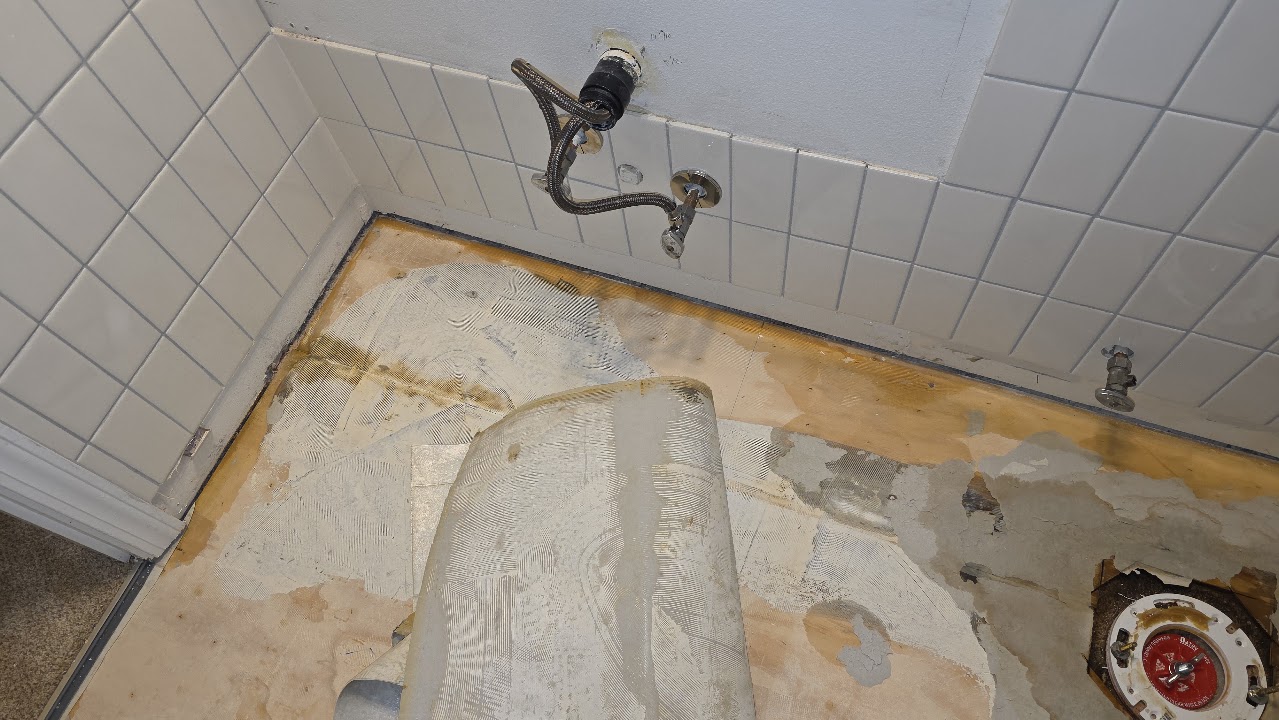
These views from an Everett job show a floor moisture check and equipment positioned during drying. The bathroom view shows exposed subfloor and plumbing connections; it documents work in progress before finished repairs.
Tile, exposed subfloor and bathroom building materials
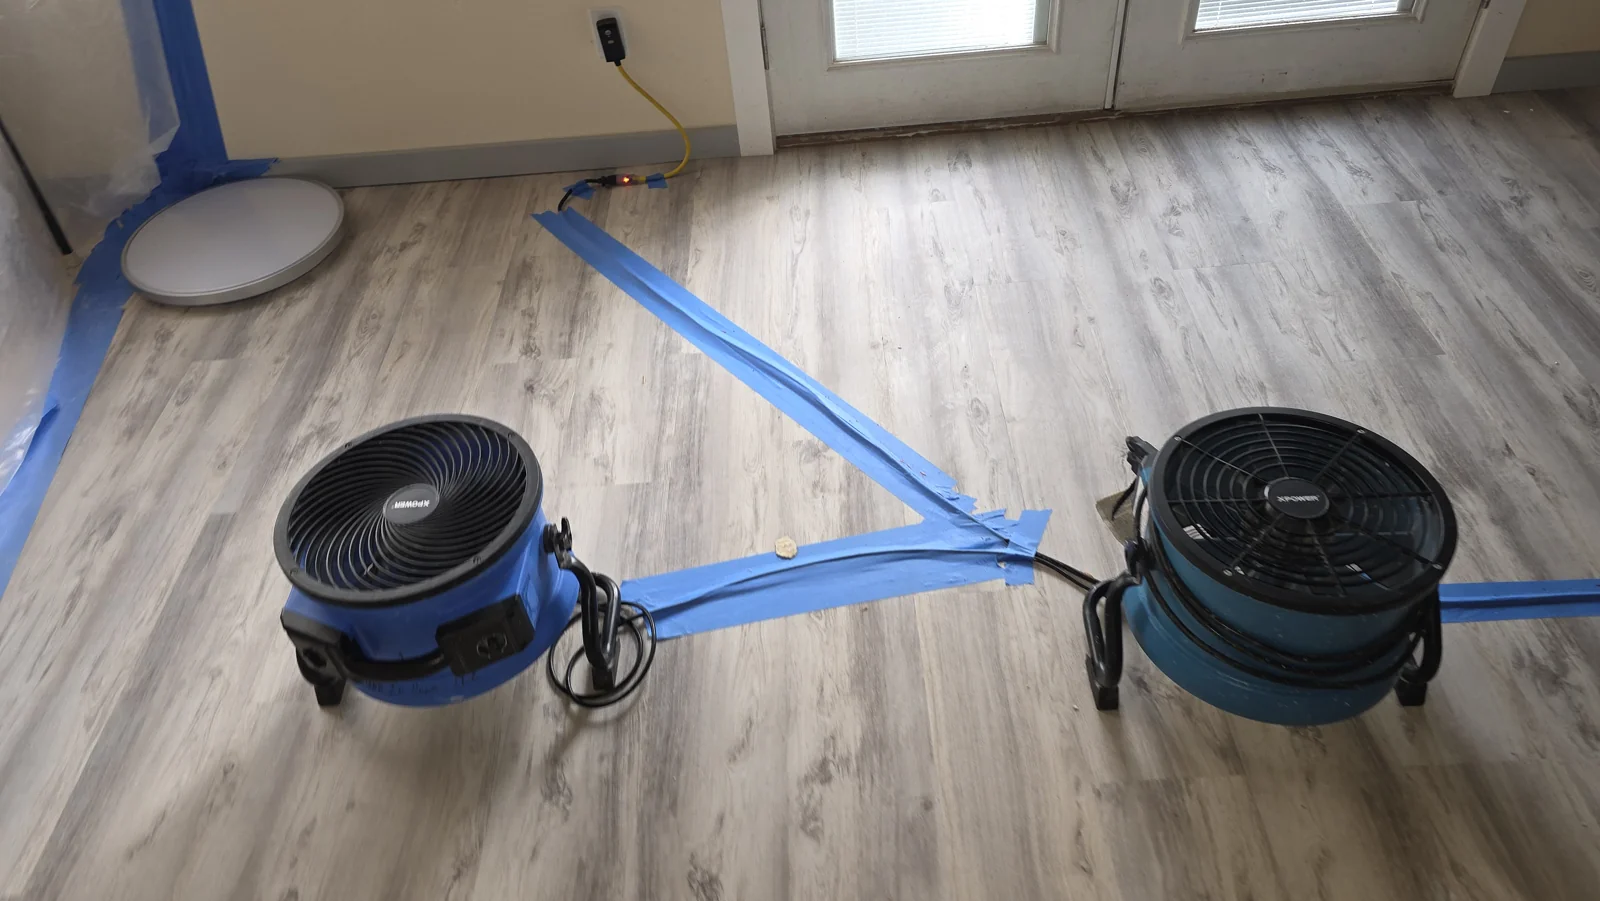
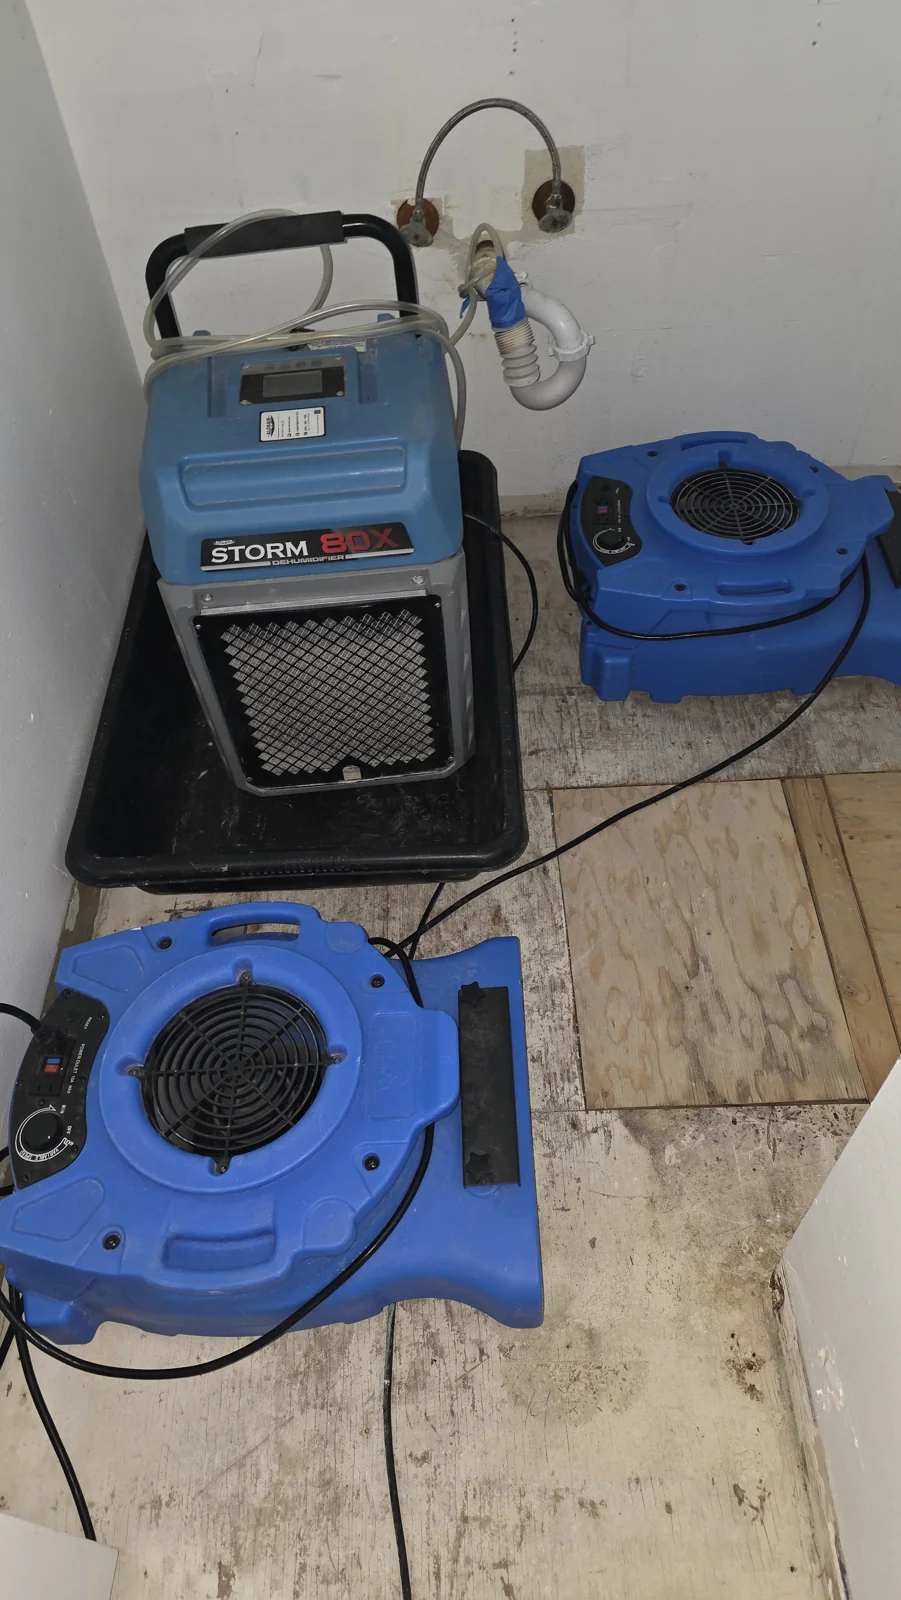
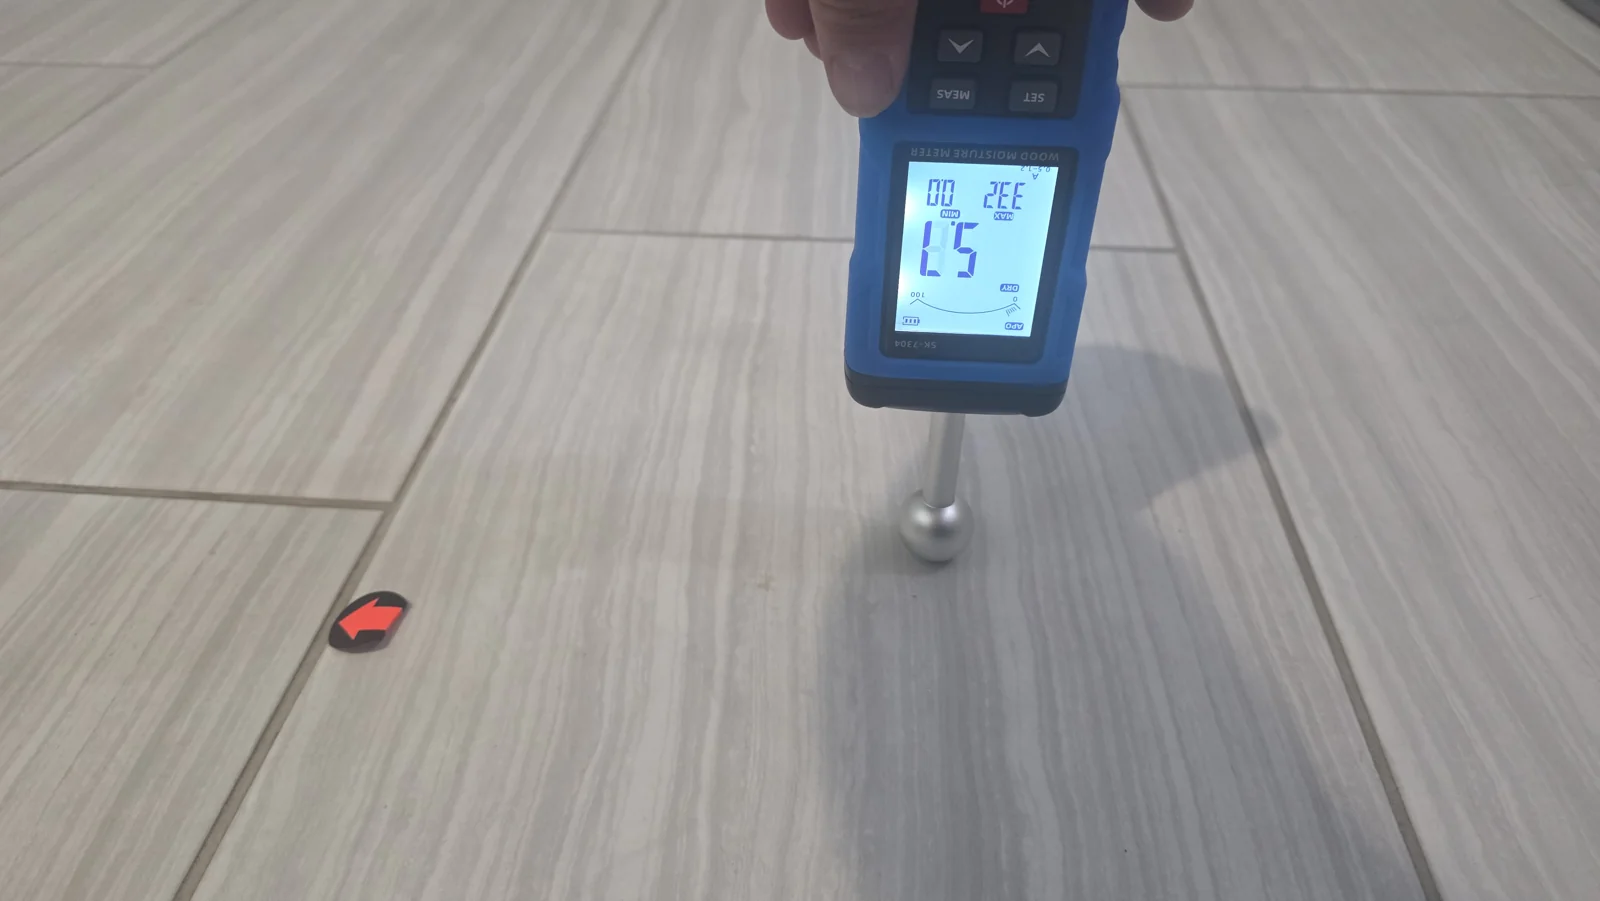
View larger ↗Checking the tile floorA close moisture check helps document the condition of the floor at the doorway.View larger ↗Air movers in placeTwo axial air movers are positioned on the floor, with power leads secured along taped routes.View larger ↗Bathroom drying setupA dehumidifier and low-profile air movers sit on the exposed bathroom subfloor.
Checking the floor and adjoining area
The close photo shows a moisture meter against tile beside a doorway. On a water loss, checking adjoining materials helps define the area that needs attention. The photograph documents the check; drying decisions depend on the readings and the material condition.
Accessing the bathroom subfloor
The bathroom photo shows exposed subfloor and plumbing connections with a dehumidifier and air movers in the work area. This view helps explain what the drying stage can look like before flooring and finishes are restored.
Planning the next stage
For a similar project, we assess the affected materials, explain any remaining drying needs and prepare a repair scope when conditions are suitable. Tell us whether the leak source has been repaired and whether another company has already completed part of the work.
Freeland: documenting conditions and checking moisture
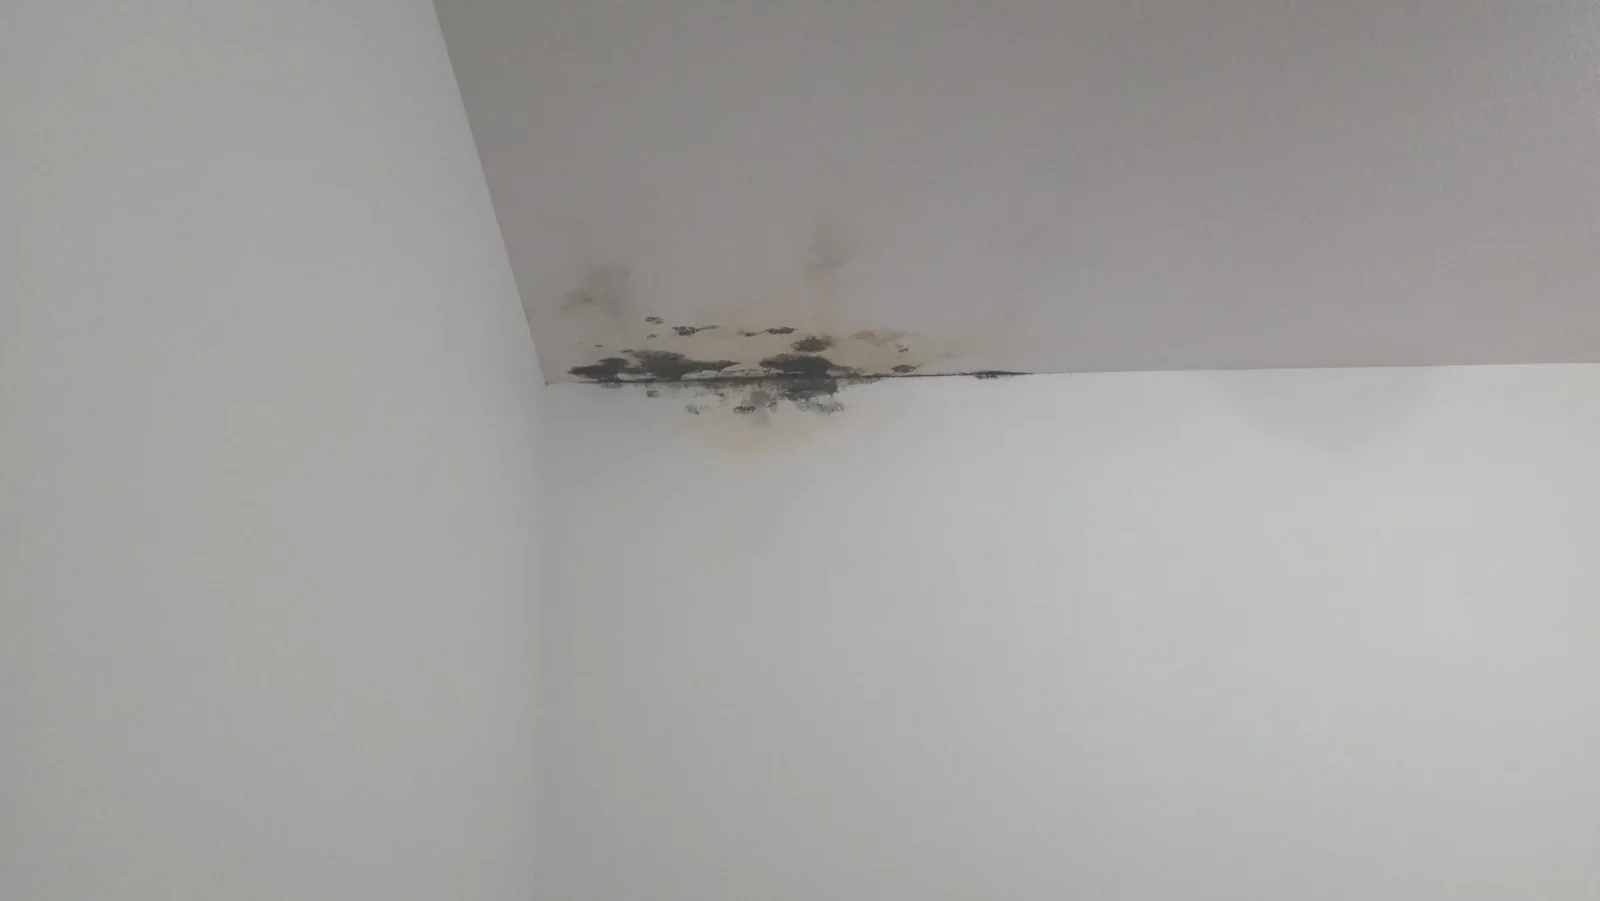
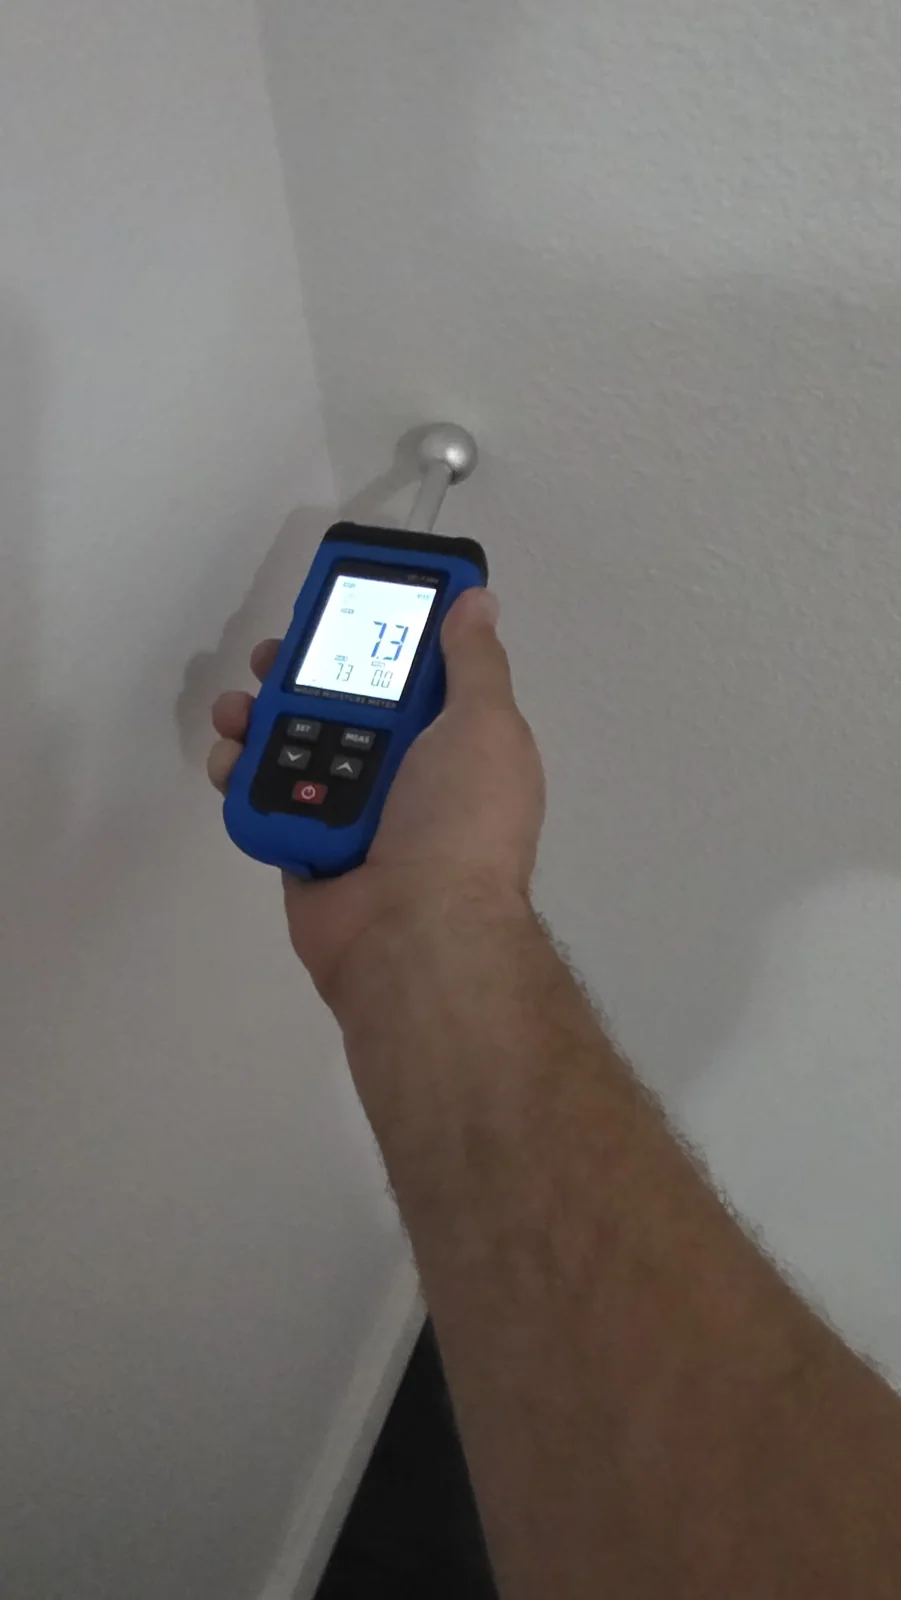
Assessment photos from Freeland document a ceiling condition and moisture checks at the wall and floor. These close views show the inspection stage without making assumptions about the source of the damage.
View larger ↗Ceiling conditionVisible discoloration at a ceiling corner is documented during the assessment.View larger ↗Wall moisture checkA handheld moisture meter is held against the wall surface.View larger ↗Floor moisture checkA separate check records conditions at the tiled floor.
Freeland: drying beside opened walls
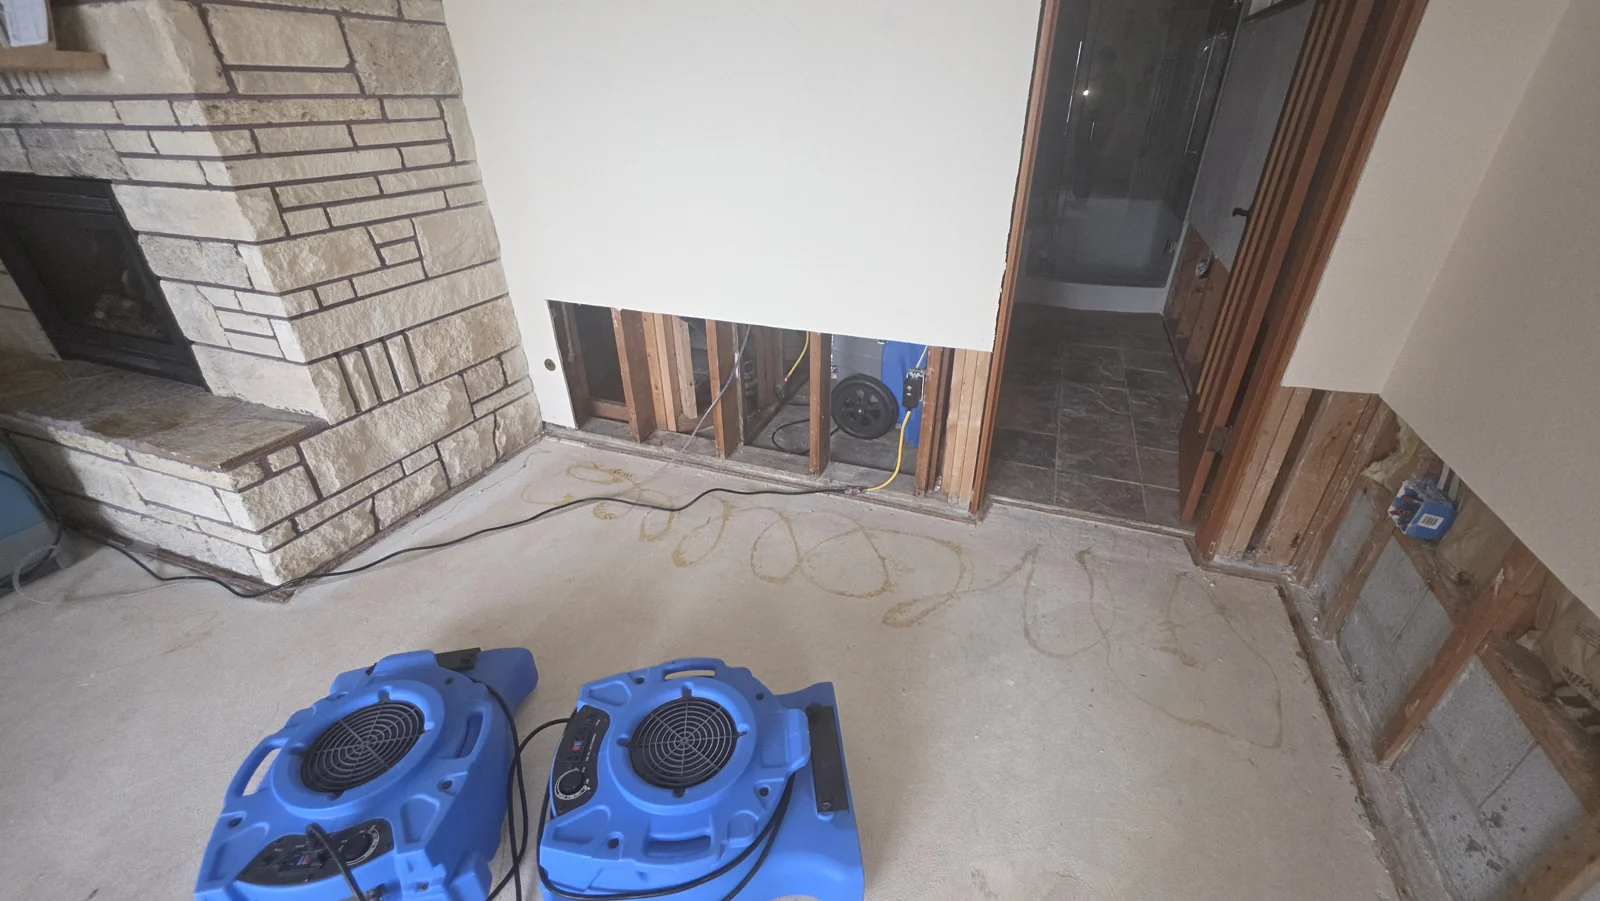
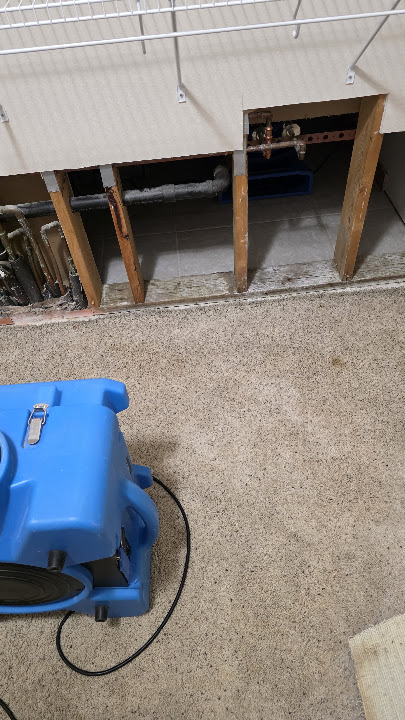
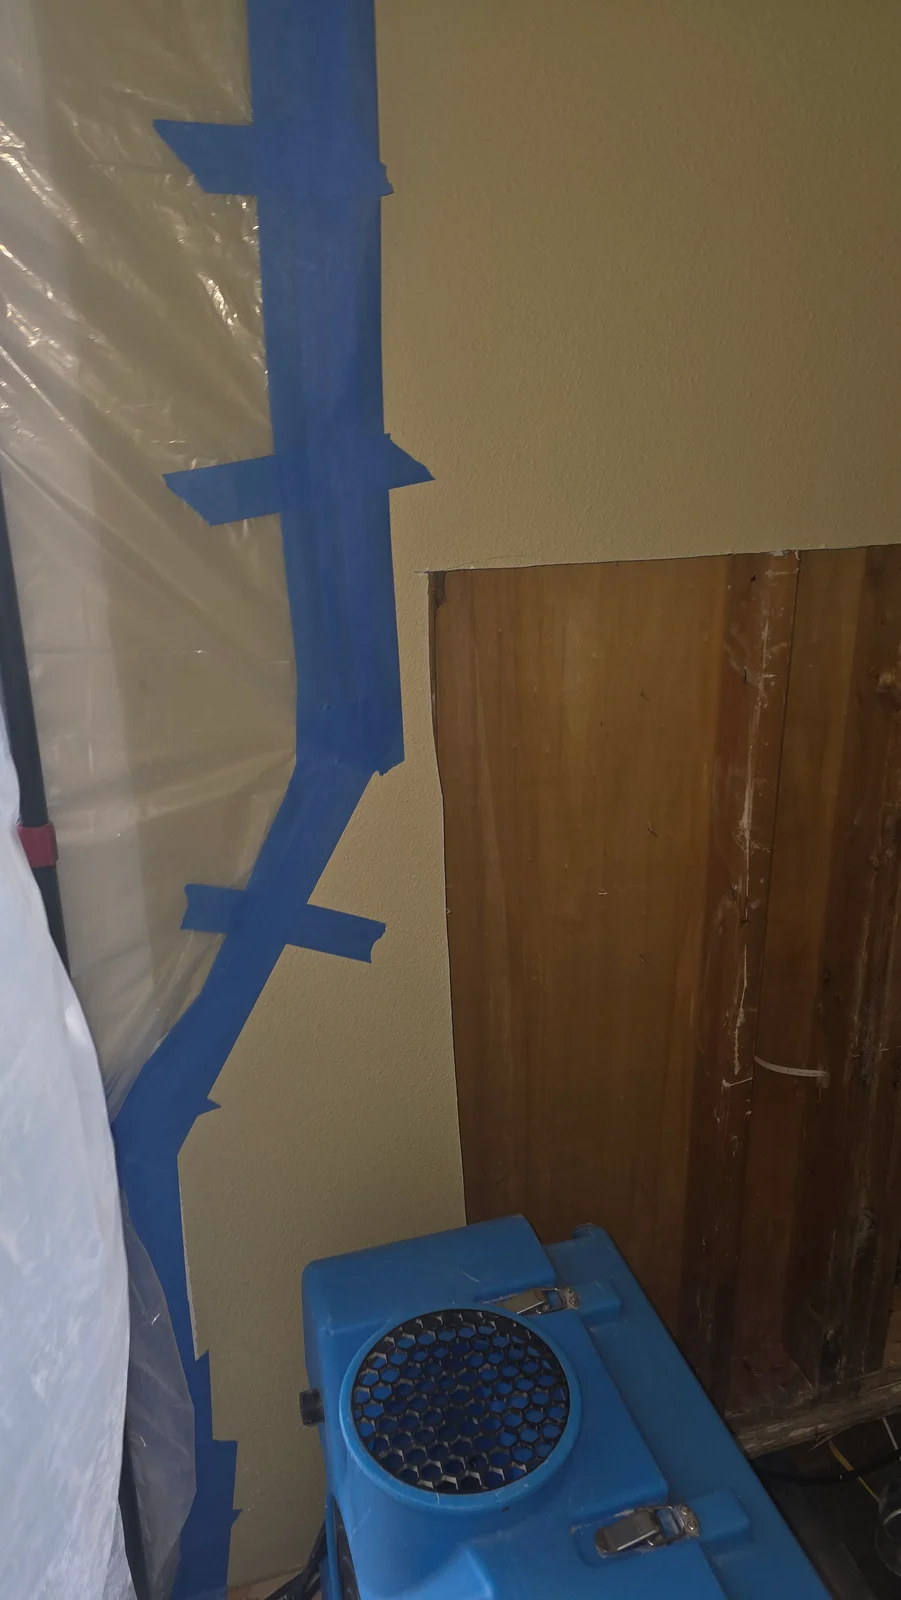
At this Freeland job, removed lower-wall finishes expose framing around the work area. Air movers and a dehumidifier are positioned during the structural drying stage.
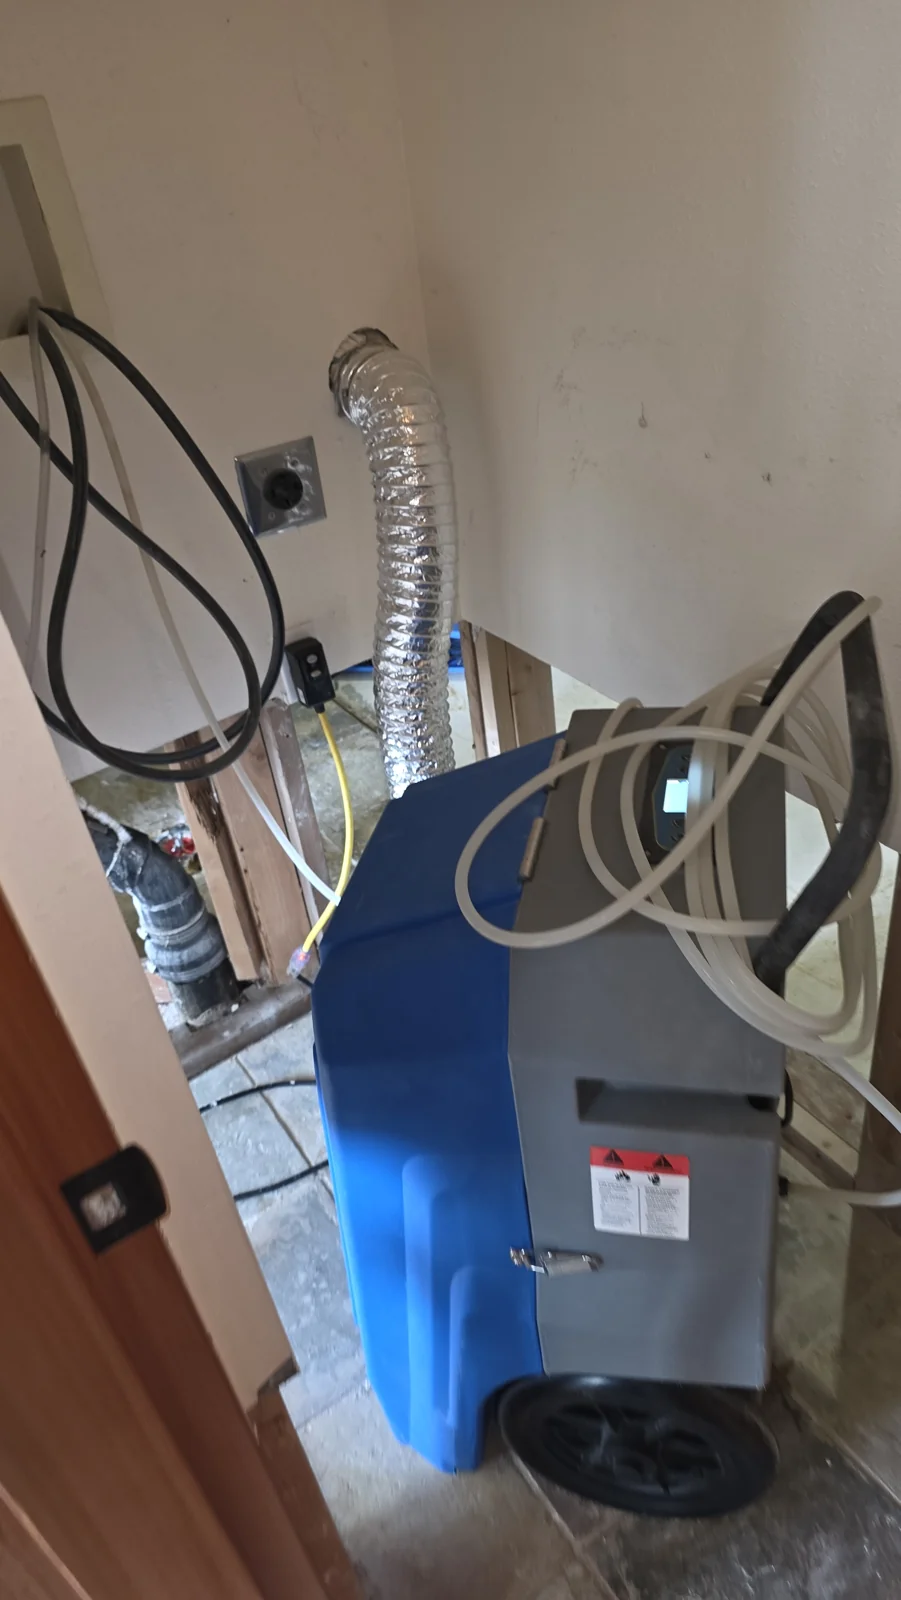
View larger ↗Air movement at exposed framingTwo low-profile air movers sit beside the opened lower wall near the fireplace.View larger ↗Dehumidification in the work areaA dehumidifier is positioned beside exposed framing and utility connections.
Access to the lower-wall framing
The wider view shows lower-wall finishes removed beside the fireplace and adjoining wall. Exposed framing gives a clear view of the work area during drying. The photo records this stage; it does not establish the original leak source or the final repair scope.
Equipment beside affected materials
Air movers are positioned along the opened wall, and the closer photo shows a dehumidifier near framing and utility connections. On a new loss, equipment placement and adjustments follow the affected materials, access and moisture conditions.
Coordinating a Whidbey Island project
If you are away from the property, we can discuss access through an authorized caretaker or manager and share project photos and documentation. Call with the address, affected rooms and who can approve work so we can confirm availability and the next step.
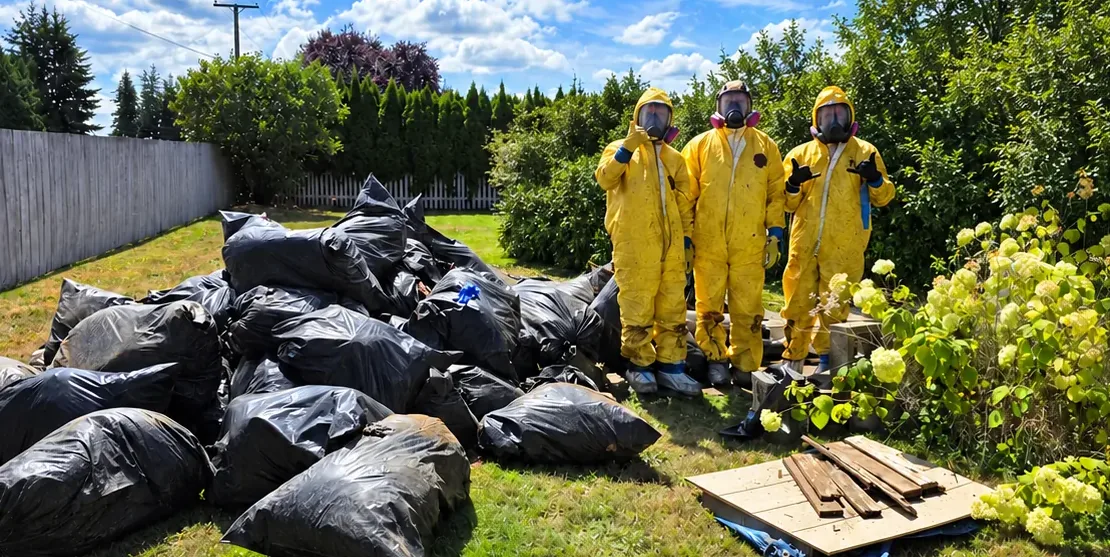
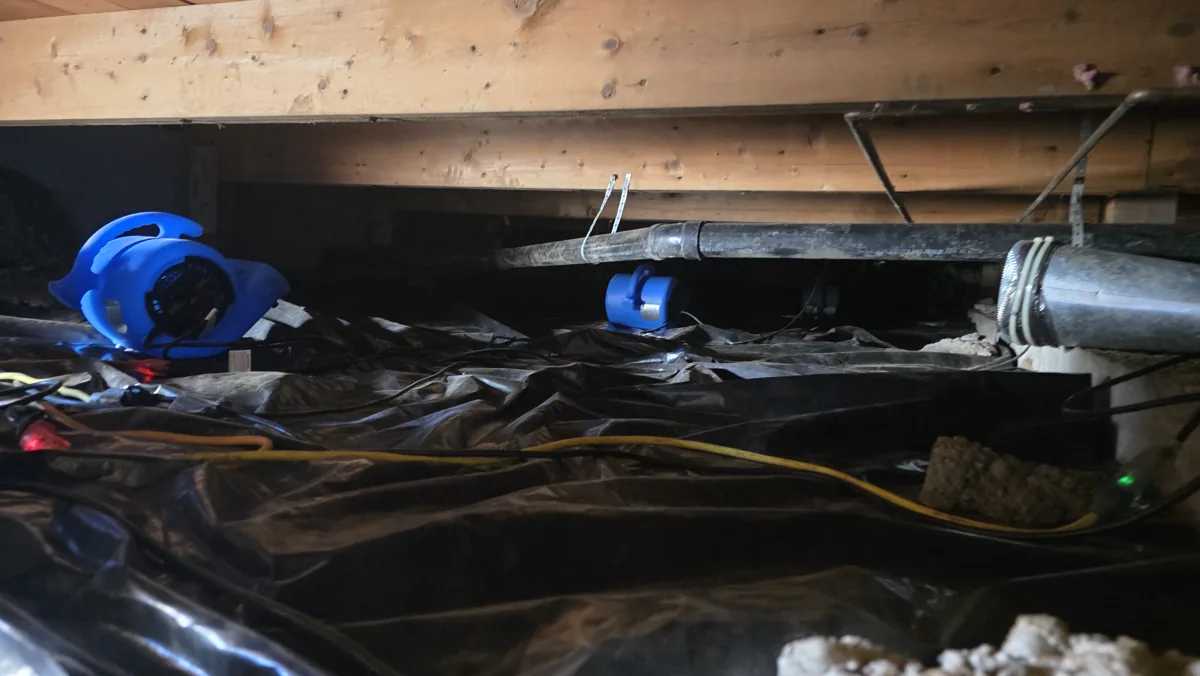
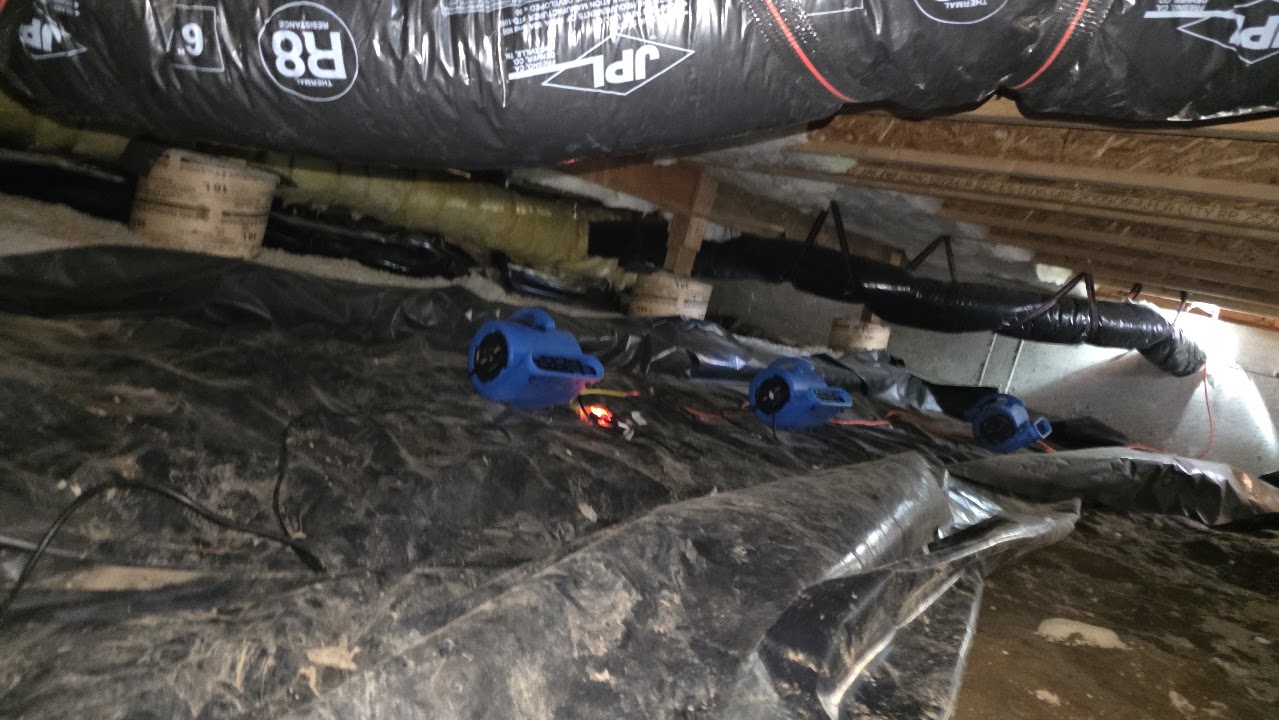
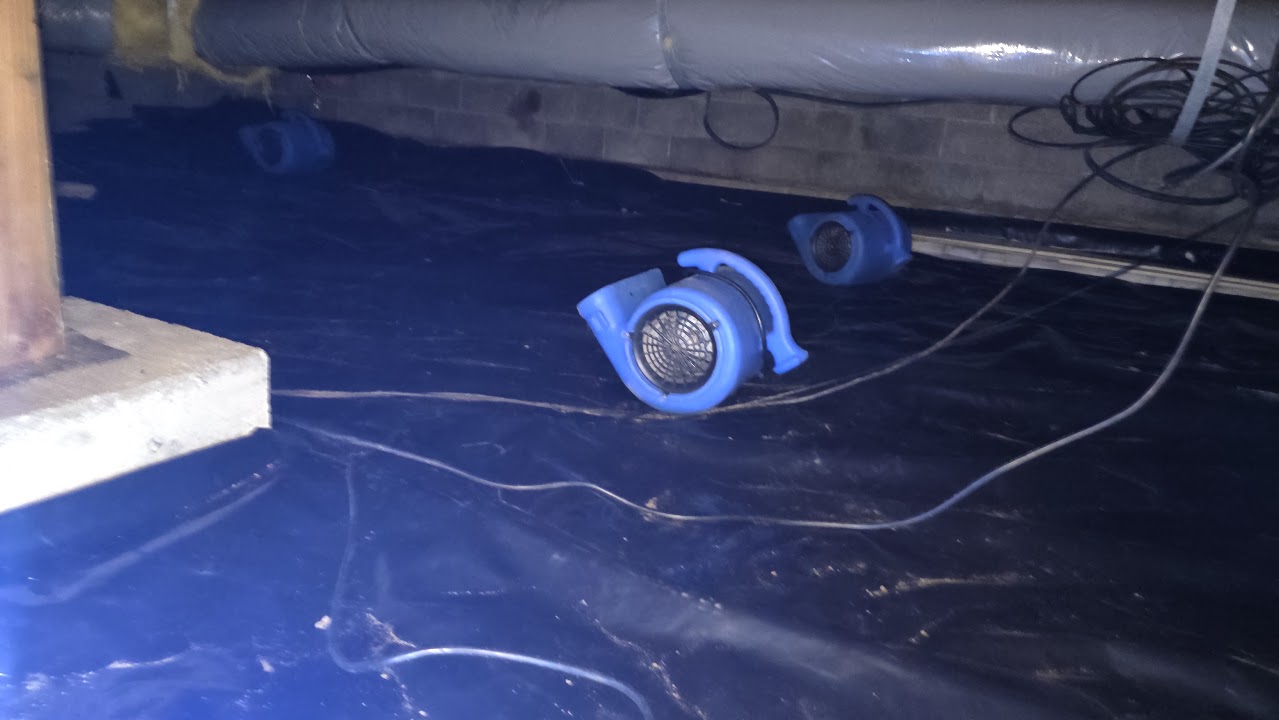
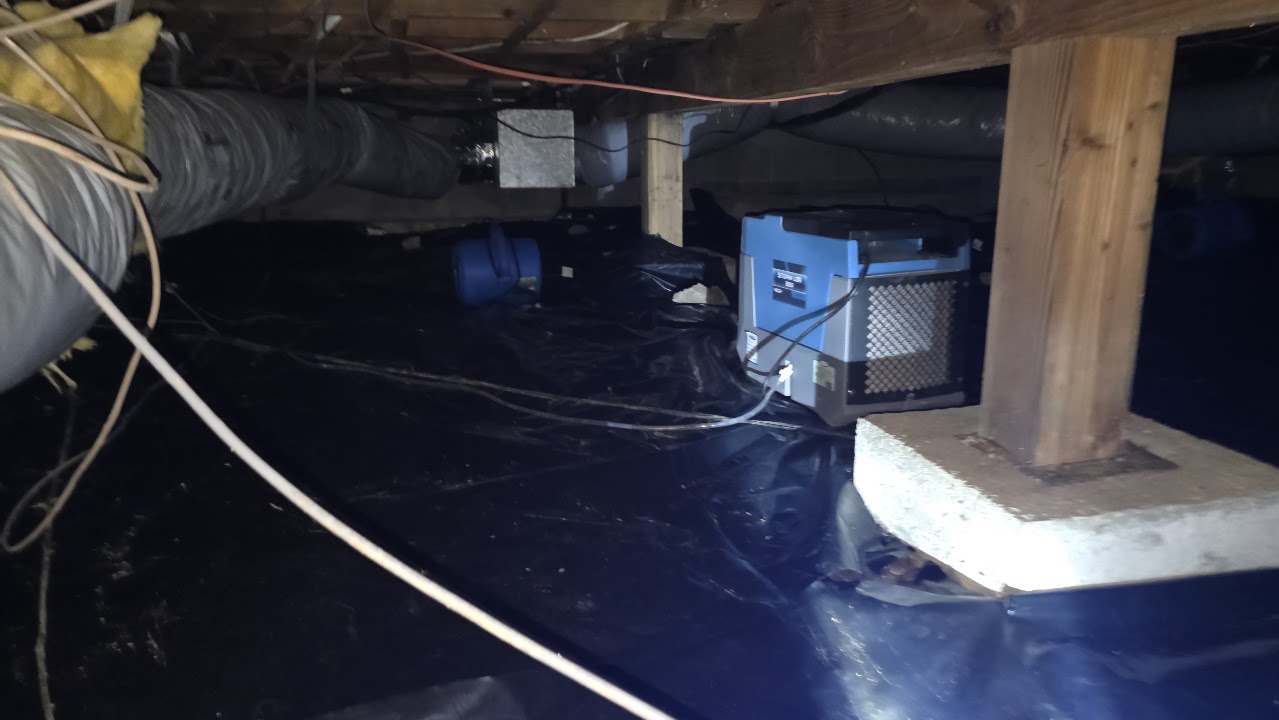
Our crew handles material cleanup and drying beneath the floor. These views show the crew beside bagged material and equipment positioned in the crawlspace.
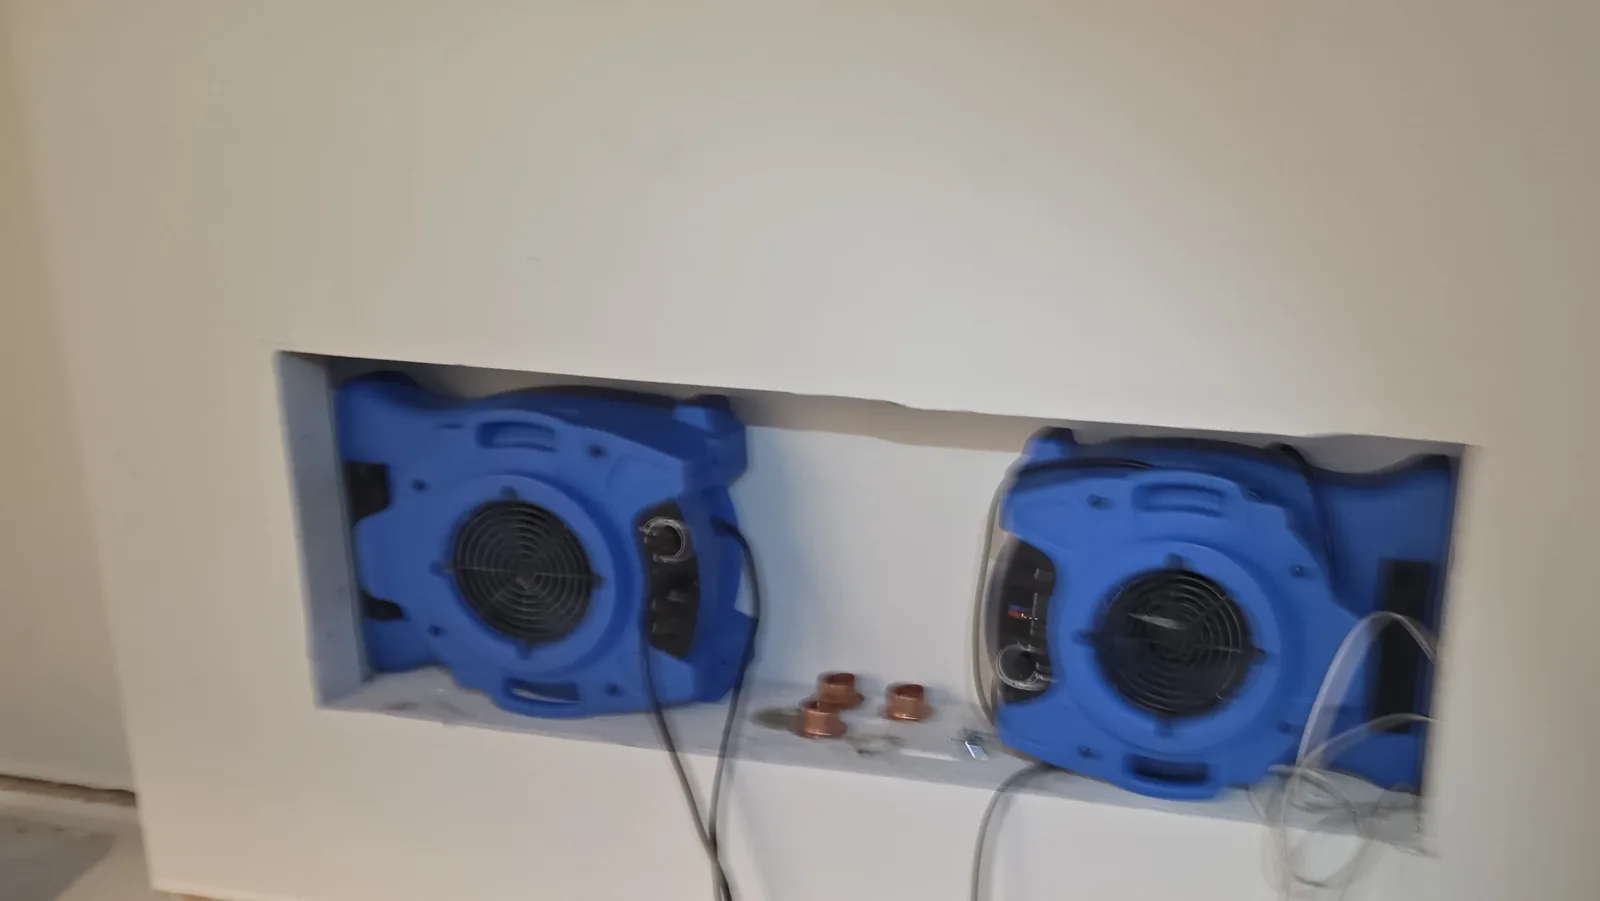
Lower wall finishes removed to expose the framing before repairs.
OUR EQUIPMENT
Equipped for the drying process.
Air movers and dehumidifiers for water-damage cleanup and structural drying.
View larger ↗Air movement and dehumidification at the exposed structureView larger ↗Air movers positioned across the work areaView larger ↗Drying equipment beneath the floor
CUSTOMER REVIEWS
What our customers say.
Read independent reviews of our cleanup and repair work.
“Excellent! Excelent! EXCELLENT! They went far above and beyond expectations, even when they didn't need to. Very profesional and I would recommend every time”
“Jeremy and the entire team were incredibly professional, helpful and kind. They understood well how to work with insurance, and the finished product was fantastic. Could not overstate how much we would recommend Jeremy and the Hand in Hand team to help you through stressful home repairs.”